Last Updated on March 15, 2026 by Grow with Bovees
If you’re an avid gardener, you most likely have a surplus of potting soil left over from the growing season.
Now you’re probably wondering how to store potting soil over the winter so that you can use it next year.
Or maybe you just want to know how you can store it long-term as you’ve bought too much in one go when doing your seed planting!
After all, if you use a lot of potting soil throughout the year, it gets expensive, right?
Much better to save it so you have it to hand whenever you need it.
As always, here at Bovees we’ve got you covered as your favorite gardening friend should do!
We’ve tried a lot of different techniques when looking at how to store potting soil — everything from just leaving it in the corner of the garage to buying proper airtight containers.
Here are a few tips and ideas on what we find works best for us.
Can you Save Leftover Potting Soil for Next Year?
Before we get started, we want to just answer this frequently asked question that we get so many times.
The answer is always — Yes!
But there are a few things you need to do to make sure you have the best chance of success so that when you come to use it again, it’s not full of mold, fungus, or bugs.
Let’s go through everything you need to do.
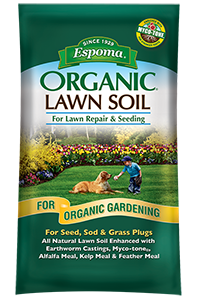
Espoma Organic Lawn Soil is an all-natural organic soil mix designed to promote seed germination and help new sod establish. It contains earthworm castings, alfalfa meal, kelp meal, and feather meal, enhanced with Espoma MYCO-TONE, a blend of endo and ecto mycorrhizae fungi. Use it anytime you sow new grass seed or install sod for organic gardening results with no synthetic plant foods or chemicals.
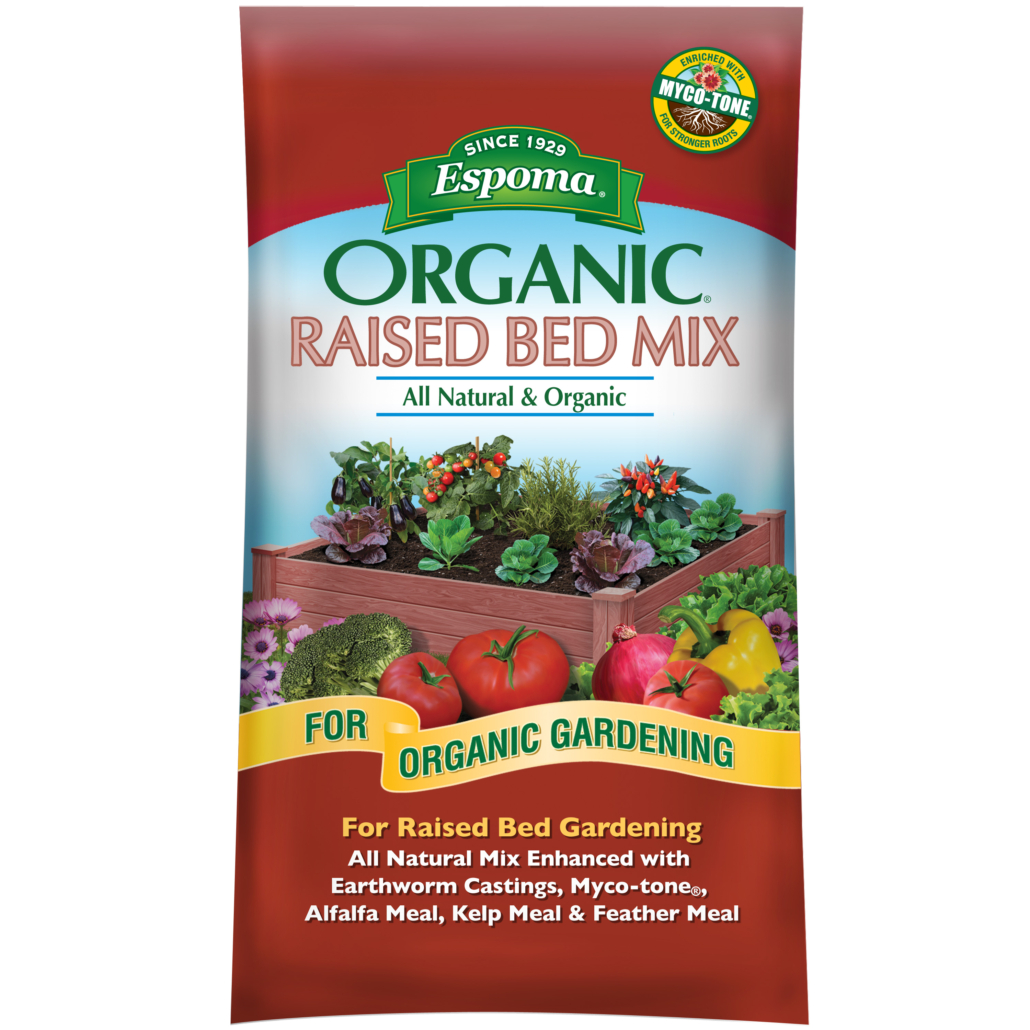
Espoma Organic Raised Bed Mix is an all-natural potting soil blend designed for raised garden beds and outdoor containers. It’s enriched with earthworm castings and organic meals for strong, healthy plant growth, plus MYCO-TONE with endo and ecto mycorrhizae. This ready-to-use mix contains no synthetic plant foods or chemicals, making it ideal for organic gardening.
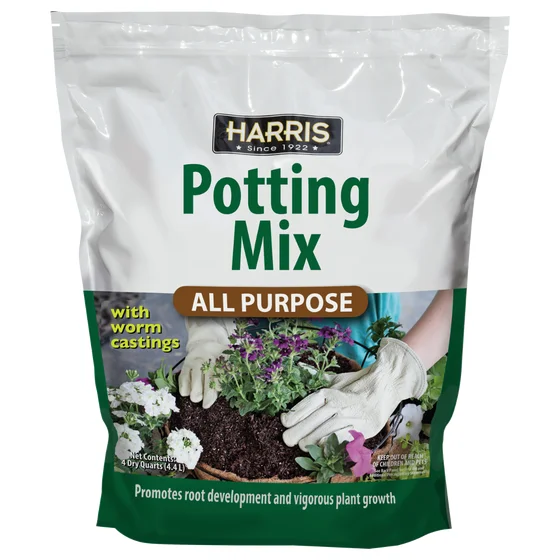
Harris All Purpose Potting Soil Mix is formulated with a blend of worm castings and premium ingredients to support healthy growth in containers. Ideal for container gardening, flower boxes, and hanging baskets, it works for both indoor and outdoor use. Use it as an amendment for garden soil or to build up raised beds for everyday gardening needs.
Preparing Your Potting Soil For Storage
Potting soil is one of those things that gardeners need to have around at all times. The best bagged compost is used for planting seed, seedlings, and even transplants and can be mixed with regular outdoor garden soil for great results.
Even during the winter months, you may need some for repotting houseplants, so it’s always useful.
If you’ve purchased a lot through the year and have a considerable amount leftover that you want to save, it’s the perfect time to get it ready to store long term so that it stays fresh and bug-free.
The first job is to go round and find all the open bags you have scattered around the house and yard!
It’s very easy to open a bag, only use a little, and then go buy a new one next time you need to plant up a new pot as you forgot you had some unused soil sitting in the corner of the garden shed!
Check the garage, basement, shed, and other corners of the garden or even under upturned pots just in case that’s where you left some!
Gather everything together, so you can take stock of your potting soil inventory and decide what you want to keep and what needs disposing of (we hardly ever just throw it away though — more on that later!).
Checking the Potting Soil Bags Before Storage
If you have some unopened bags, that’s great as you can just leave them intact. These are going to be your best candidates for storage over the winter or long term, as sterile potting soil is the freshest soil you can use.
Go through all the opened potting soil bags to check if they have any nasties in them.
We like to dump the opened bags, one by one (don’t mix them yet) through a large mesh strainer onto a big tray to check the soil for contaminants.
Remove any grubs, larvae, insect eggs, mold etc., and put the rest of the soil back in the bag.
Any bag that looks like it may be too insect-infested or moldy already, put to one side.
It’s not that the potting soil has gone bad or contaminated, it’s just that it could be put to better use than storing long term, which we’ll cover later.
We’re only interested in saving the stuff that is definitely going to be worth keeping!
Dry the Potting Mix Before Storing
The next step in how to store potting soil is to make sure it’s as dry as possible.
This is very important as dry soil stores much better, as it will help stop any mold or mildew from forming and avoid other issues in storage, very much like keeping dry pasta and cereal does in the kitchen.
If you have the room, empty out the bags of soil supplies onto a large open tray in the garage or undercover, so that all the moisture can escape. You could try blotting it with some paper towels to soak up the moisture and speed up the process.
If you don’t have the room to spread it out, just let it sit with the bags of potting soil opened up for a while (again always undercover or even better in the garage or garden shed). Make sure you shake or mix the dirt up every day so that the moisture doesn’t just sink to the bottom and keep checking the soil for dryness.
Note: if you have large unopened bags that have been stored outside you may need to check that too, as the bags usually have tiny perforations to allow for airflow, but this can also let moisture in.
It will not be a problem opening these as we are going to close them up for storage again straight away.
Using the Original Packaging
If you’ve still got the original potting soil bag that it came in and it’s still in good condition, we recommend you use this to store it in. You’ll then know the specific ingredients, if anything has been added (fertilizers etc.) and when it was produced.
If the bag is ripped or just not usable, then you can put it in with another as long as you check they are of a similar type and constitution.
Smaller potting soil bags are often sealed (so perfect for storing like that if unopened) or at least resealable with a ziplock or something if you’ve already used some. These can be stored as they are on a shelf or in a waterproof box of some sort.
Larger bags are often not meant for storing as they don’t have an airtight seal, so we will need to do what we can to close them up or accept they just will not keep as long.
Of course, there are other ways to store the soil from these bags which we’ll look at now.
Potting Soil Storage Ideas
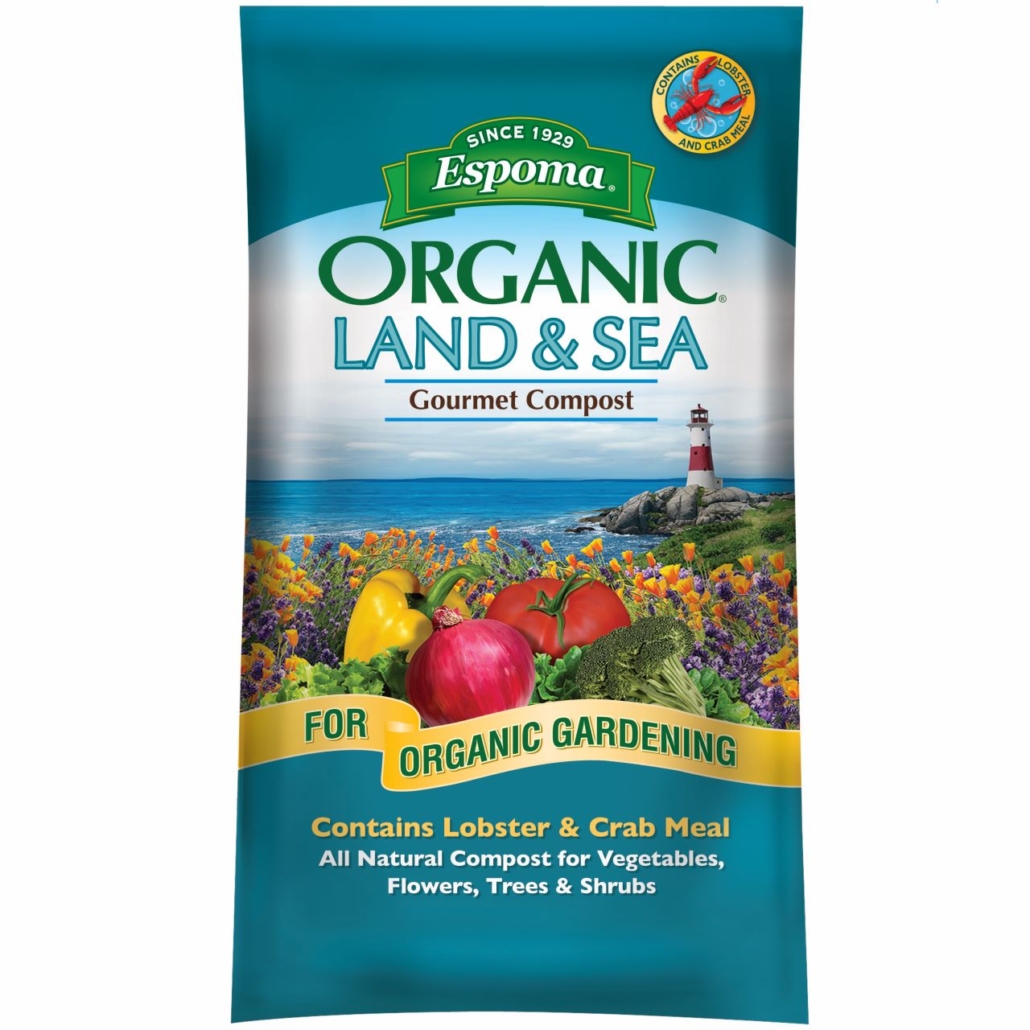
Espoma Organic Land and Sea Gourmet Compost is a rich organic planting mix designed to improve native soil and revitalize container gardens. Enriched with both lobster and crab meal, it supports healthy growth for vegetables, flowers, trees, and shrubs. The blend also includes myco-tone endo and ecto mycorrhizae and contains no synthetic plant foods or chemicals.

Sevin Insect Killer Dust helps protect flowers and lawn from listed damaging pests with a ready-to-use, shake-and-apply formula. It kills more than 150 insects by contact and creates a protective barrier when applied to leaves, stems, and flowers at the label rate. It won’t harm plants or blooms, and people and pets may return once the dust has settled.
Saving Smaller Bags of Soil Mix
Just to reaffirm what we said above, a smaller soil bag is usually ok as they tend to be a bit thicker and these can be placed in a container of some sort just to keep them tidy and out of the reach of pets and children.
A sturdy water proof container, plastic bin or plastic tote of a suitable size will be perfect for this.
Just squeeze out as much air from opened bags as you can and then reseal them first.
Can You Keep the Larger Bags?
As we know, the larger plastic bags of potting soil that are sold around the country are usually just big thin plastic bags, too thin to use for keeping longer term, so we need to find a way to overcome this.
If you do however want to store potting soil in original bags prior to packing, roll the tops down and secure with tape to stop the contents from spilling out first.
We can then store these bags in containers as detailed below.
We’ll also look at saving loose dirt that’s not in a plastic bag and the best way to keep that fresh, clean and tidy.
Using Quality Containers to Keep Your Potting Soil Safe
The ideal storage container we use for storing both bagged and loose potting mix are pretty much the same, but we just might use them in a slightly different way.
Whatever you use, make sure you get the best quality you can. The last thing you want is for them to split or crack because they can’t take the weight or volume of the contents
For our larger and partially used bags of dirt that we want to store as they are, then once they are sealed up as best we can, find a large, strong, sealable fresh bag or solid tub to store them in.
If they are completely airtight, even better, but as long as they are closable, then they will work OK.
If bagging them makes sense for you, the sort of bags we’re looking for are the supersized, strong, airtight ziplock type if you can find them.
These are often hard to come by though and not easy to stack so we recommend looking for a solid container or tub instead.
Stackable plastic totes with lids are readily available from many retailers and are often very inexpensive.
They make ideal containers and, if you take the precautions we lay out below, will keep your precious soil in perfect condition for ages.
Of course, you can (and should!) re-use any containers you already have, either from bulk food purchases or other garden projects, to store potting soil. Even a metal container can be used.
Just make sure you follow the guidelines below on cleaning to avoid any problems later on.
If you have any with a rubberized air-tight seal, they are great to use and definitely recommended as an excellent choice for proper storage.
We don’t recommend using cardboard or wooden boxes as a protective container. They let moisture in and the soil will not keep as well if it gets damp, as we know.
Making Sure the Plastic Tote and Lid or Ziplock Bag Are Clean
It’s important to make sure that whatever we use for storing potting soil is clean before using it to avoid contaminating a good potting mix.
You could either use a very weak bleach solution (1 part bleach to 10 parts water is ideal) or our preference is to just use the disinfecting cleaning wipes you can buy these days.
If you’re re-using a storage bag, turn it inside out, shake it and then wipe over with your wipes or cleaning fluid and allow it to dry. Do not rinse and wipe dry by the way, just let them air naturally.
For storage totes and plastic boxes, give them a good brush out to get rid of any soil if they’ve been used before and then wash them out with the bleach solution or disinfectant wipes.
You need to make sure you clean the tubs themselves and the lids.
As with the bags, just leave them to air dry completely and don’t rinse them out.
Storing Potting Soil in Large Plastic Bins or Bags
Once the storage containers are dry you can get on with packing them with the compost.
Using Ziplock Bags for Storage
If storing soil in ziplock bags, pack them with sealed bags, and then squeeze out as much air as you can before zipping up.
You will find it easier if you remove as much air as possible from each individual plastic sealed bag before popping them in the ziplock bag for proper airtight storage.
Using Solid Storage Totes or Boxes for Stored Potting Soil
When using plastic bins to store your sealed or closed bags, follow the same process first.
Get as much air out of each individual plastic bag and then pack them into your storage container or box.
If you have a lot of different types of soil, then it may be easier to put similar material in the same box.
Once the box is packed, put the lid on and, as an extra step, seal with duct tape if you have it. You could also wrap cling film or plastic wrap around the box (or just around the lid) to seal it up as well.
If you don’t have a translucent storage bin, clearly label the storage tote so that you know what’s inside them without having to open them unnecessarily.
Storing Loose Potting Mix in Plastic Boxes
If you have a lot of loose soil to store, then you need to make sure you have the different types grouped together, so you can mix them in the same plastic bin.
Empty the similar bags into a tote and give them a good mix before putting the lid on.
Once the lid is firmly secured, use some plastic wrap or duct tape to seal any gaps around the lid and stick a label on to show what sort of soil is inside.
Also, be sure to rotate the bins regularly or give them a shake every now and again. This will help prevent mold growth when you store potting soil.
What To Do With a Potting Mix That’s Too Moldy or Full of Insects
You may remember we mentioned earlier that we hardly ever throw our ‘bad’ used potting soil away when storing potting mix.
So what do we do with it if it’s full of critters?
The answer, as most gardeners will know of course, is to throw it onto your giant compost heap if you have one.
Home composting is a whole new topic or two on its own, but putting your unwanted potting soil in there will actually do it some good, so don’t be afraid to dispose of it that way.
If you don’t have any compost on the go, then now is an excellent time to start making your own lovely homemade compost as unwanted potting soil can be a great ‘starter’ material for your new heap.
FAQs About How to Store Potting Soil
Now that you know how to best prepare for your excess potting soil storage, we thought it would be a good idea to go through some of the popular questions we get to answer any other queries you may have.
How long can you store leftover potting soil?
There’s no clear answer to this really, and it will probably keep for years if done properly, but the easy solution is to just make sure you use up your store of potting medium each spring when potting up new plants before buying some more.
That way you will reduce long term storages and save yourself money!
Can you leave soil for potting outside?
Whilst it’s always best to keep your packaged potting soil in the shed or garage with your garden tools, if you just don’t have the room then you can keep it outside.
If you can find a dry spot then so much the better, but wherever you put it, make sure it’s up off the ground using pallets, stones, bricks or whatever you have available and cover it with a waterproof tarp or in outdoor containers.
Can you leave potting mix outside in the winter?
It’s ok to leave fresh potting mix outside over the winter as long as it’s covered and raised off the ground as we went through above.
Does soil for potting go bad if it freezes?
A related question we often get about how to store potting soil over winter is what happens if the soil freezes.
Freezing temperatures will not harm the soil even if it’s frozen solid, but what can happen is the bag degrades and the contents will spill out making a mess of your nice clean storage box.
Where should I store leftover potting soil?
Indoor soil storage is best, so if you can find space for it in your garage, cellar, a shed or an outbuilding of some sort then that is definitely the best place.
If you have somewhere to store your tools over winter, perhaps that would also be a good place to store potting soil boxes too.
However, if you just don’t have anywhere, refer to the question above about storing it outside.
How to Store Potting Soil — Final Thoughts
Hopefully you’ve now gathered enough info on how to save potting soil to put your winter compost plans in action and feel much better about saving that soil for next year’s harvest.
Just remember to follow the steps above and your plants will love you for it next year, as will the planet for not needlessly wasting good resources!