Introduction to Composting: How It Works and How to Start
Composting is the managed biological decomposition of organic matter into a stable, dark, crumbly material called compost or humus, which improves soil structure, feeds soil organisms, and provides a slow-release source of nutrients for plants. It is the closest thing to a universal soil improvement tool available to homeowners, and it is produced from material most households are already generating: kitchen scraps and yard waste.
This guide explains how composting works at a basic level, what you need to get started, and how to set up your first pile or bin without overcomplicating it.
What Happens Inside a Compost Pile
Aerobic decomposition, the process that happens inside a well-managed compost pile, is carried out by billions of microorganisms, primarily bacteria and fungi, that consume organic matter as a food source. As they metabolize carbon from browns (dry leaves, cardboard, straw) and nitrogen from greens (food scraps, fresh grass clippings, plant trimmings), they produce carbon dioxide, water vapor, and heat as byproducts.
The heat is a sign the process is working. An active hot pile can reach 130°F to 160°F at its core, sustained by thermophilic bacteria that thrive at high temperatures. That internal heat is what kills weed seeds, breaks down pathogens, and accelerates decomposition. Cooler piles still decompose, they just do so much more slowly, and without the pathogen-killing benefit.
Earthworms contribute to composting but they work primarily in the cooler outer zones of a pile, or in worm bins designed specifically for vermicomposting. They are not required for hot composting, though their presence in a maturing pile is a good sign.
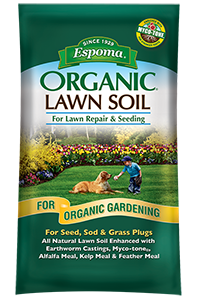
Espoma Organic Lawn Soil is an all-natural organic soil mix designed to promote seed germination and help new sod establish. It contains earthworm castings, alfalfa meal, kelp meal, and feather meal, enhanced with Espoma MYCO-TONE, a blend of endo and ecto mycorrhizae fungi. Use it anytime you sow new grass seed or install sod for organic gardening results with no synthetic plant foods or chemicals.
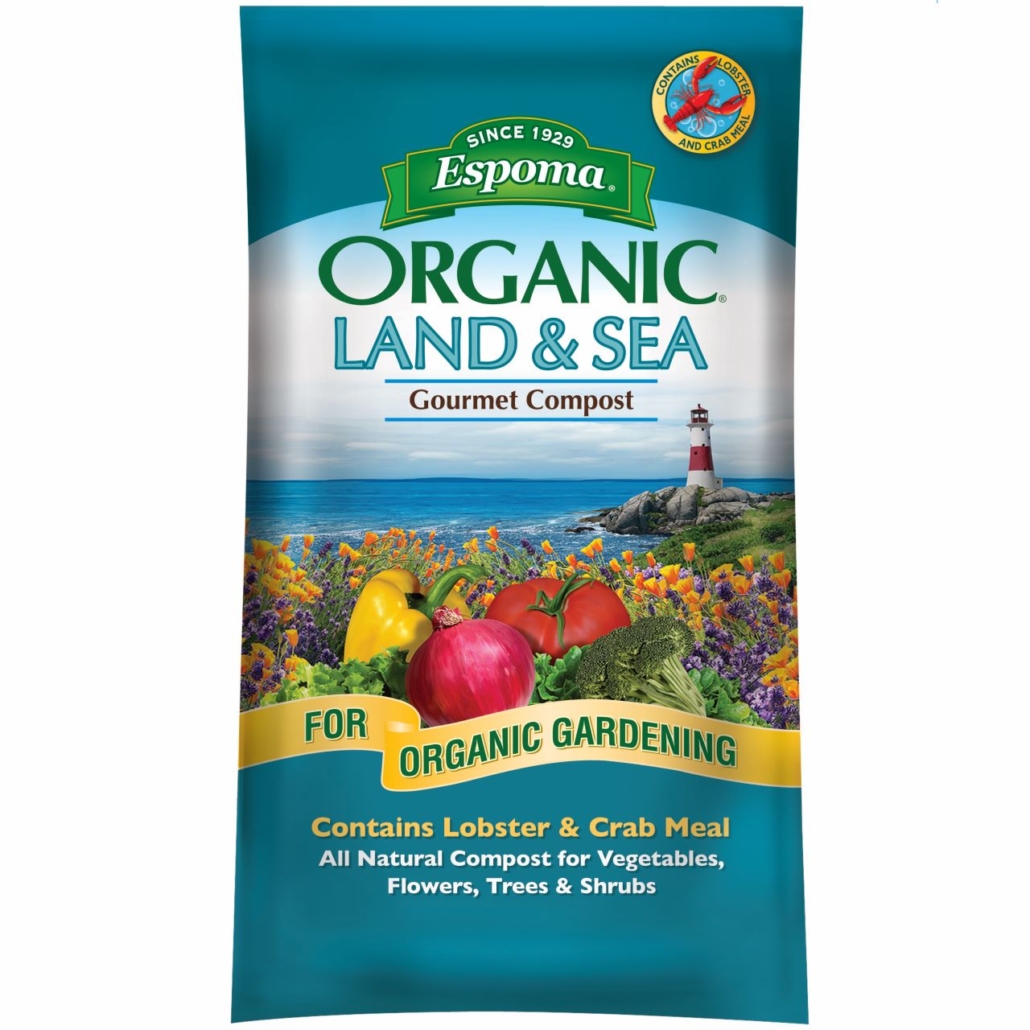
Espoma Organic Land and Sea Gourmet Compost is a rich organic planting mix designed to improve native soil and revitalize container gardens. Enriched with both lobster and crab meal, it supports healthy growth for vegetables, flowers, trees, and shrubs. The blend also includes myco-tone endo and ecto mycorrhizae and contains no synthetic plant foods or chemicals.
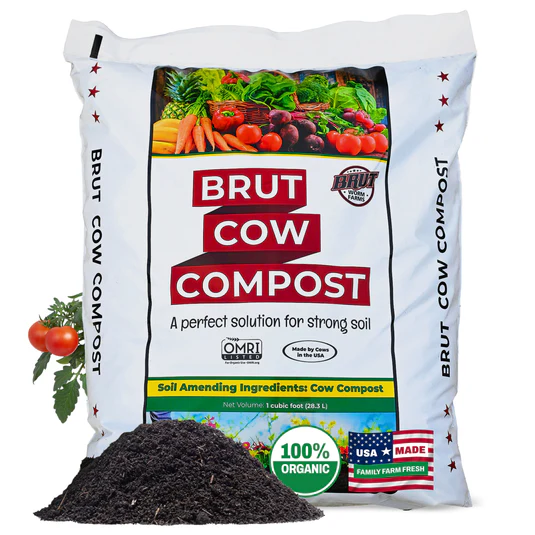
Brut Cow Compost is a nutrient-rich organic soil amendment made from 100% pure, thoroughly composted cow manure. It enriches soil with nitrogen, calcium, and iron, supports beneficial microbial life, and helps plants produce stronger growth. Odor-free and gentle on roots, it can be used for vegetables, flowers, lawns, shrubs, and indoor plants as a top dressing or mixed into garden and potting soil.
The Four Inputs You Need to Get Right
A compost pile needs carbon, nitrogen, moisture, and oxygen. Getting all four in the right range is what the entire practice of composting is about.
Carbon comes from brown, dry materials: autumn leaves, cardboard, straw, wood chips, shredded paper, and woody plant stems. These materials have a high carbon-to-nitrogen ratio.
Nitrogen comes from fresh, green, or wet materials: fruit and vegetable scraps, coffee grounds, fresh grass clippings, and green plant trimmings. These materials have a low carbon-to-nitrogen ratio.
Moisture should be maintained at around the level of a wrung-out sponge. The pile should feel damp throughout but should not drip when squeezed. A dry pile stalls because the microorganisms need water to function. A waterlogged pile goes anaerobic and starts to smell.
Oxygen is maintained by turning the pile and by ensuring the pile structure is loose enough to allow air to move through it. Compacted, overly fine, or overly wet material restricts airflow and causes the pile to go anaerobic.
What You Need to Get Started
Starting a compost pile requires almost no investment. The minimum setup is a clear area in your yard, a starting batch of organic material, and some patience. An enclosed bin makes the pile tidier and can deter some pests, but it is not required for composting to work.
What you do need from the start is a mix of brown and green material. A common practical ratio is roughly three parts brown material to one part green material by volume. This approximates the carbon-to-nitrogen ratio the microorganisms need, though you will adjust based on how the pile behaves. The detailed breakdown of materials and ratios is covered in the carbon-to-nitrogen ratio guide.
Choose a location that has good drainage, some shelter from direct sun if you are in a hot climate, and easy access from the kitchen and yard. The full set of location considerations, including distance from the house and proximity to tree roots, is covered in the compost bin placement guide.

Sevin Insect Killer Dust helps protect flowers and lawn from listed damaging pests with a ready-to-use, shake-and-apply formula. It kills more than 150 insects by contact and creates a protective barrier when applied to leaves, stems, and flowers at the label rate. It won’t harm plants or blooms, and people and pets may return once the dust has settled.
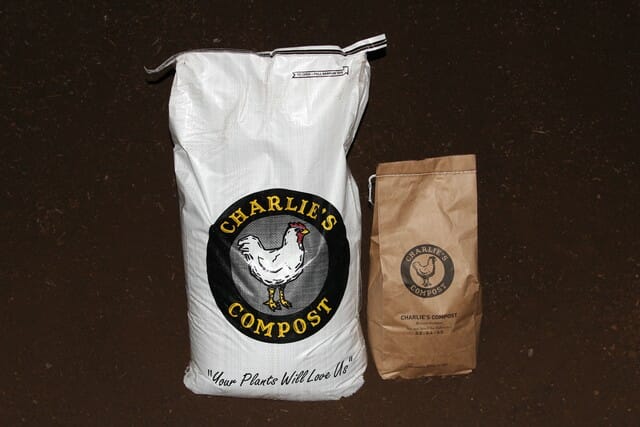
Charlie's Compost is an odor-free organic compost that enriches soil with nutrients and improves soil structure for healthier plant growth. It’s ideal for home gardens, raised beds, containers, and seed starting mixes, and it works as a compost tea ready amendment. The formula supports continuous nutrient release and offers low-odor composting for small-space and indoor-friendly use.
Setting Up Your First Pile
Start with a base layer of coarse brown material about four to six inches deep. Coarse material such as wood chips or shredded cardboard helps with drainage and airflow from the bottom. Add a layer of greens of roughly similar depth. Continue layering browns and greens, moistening dry layers as you build.
Once the pile reaches about three feet in all dimensions, it has enough mass to begin heating up. At this point, the goal is to maintain moisture and introduce oxygen by turning every few days for hot composting, or every few weeks if you are taking a more passive approach. Signs the pile is working include warmth at the center, a faint earthy or mushroomy smell, and visible shrinkage as material breaks down.
If you are choosing between an active hot method and a slower cold or passive approach, the practical tradeoffs are covered in the hot vs cold composting guide.
When Is the Compost Finished?
Finished compost is dark brown or black, crumbly, and smells like damp forest soil rather than decomposing food. You should not be able to identify the original source materials. It has cooled to ambient temperature and will not reheat when turned. The full set of maturity tests, including the squeeze test, the smell test, and the bag test, is covered in the guide to knowing when compost is ready.
Once finished, compost can be applied directly to lawns, dug into vegetable beds, mixed into potting soil, or used as a mulch layer. Application methods and rates for each use case are covered in the using compost hub.