Last Updated on March 15, 2026 by Grow with Bovees
There’s no two ways about it, you need to be pretty committed to embark on the process of learning how to grow asparagus, you also need a bit of space, both of which, I suppose, go towards explaining why it is so expensive to buy in the shops!
However, the sheer delight and satisfaction in producing your first crop makes it all worthwhile!
Plus, although there is a lot of investment required in terms of preparation over the first year or so, if you do it properly then you could be reaping the delicious benefits for many years afterwards.
Asparagus officinalis
Origin
Eastern Mediterranean
Optimum pH 6.5-7.5
This is a perennial maritime plant of the lily family, and is a relative of the several species of decorative asparagus ‘ferns’. Cultivated asparagus is dioecious, i.e. the male and female flowers are borne on separate plants, although occasionally plants are encountered that produce flowers containing both male and female organs.
Investigations by many research workers have shown that male plants usually produce a greater number of spears per plant than the female but that the spears of the latter are bigger and heavier. At the end of the cutting season the females are easily recognizable as they show flowers and then fruits, which are red when ripe.
Recommended Cultivars
California 500
Connover’s Colossal: An old cultivar with slender pointed buds.
U.C. 72: Large green-tipped spears. This cultivar has some resistance to fusarium wilt.
Soil Preparation
If they are given an adequate resting period each winter, followed by a good feeding program when in growth, plantings will remain productive for a very long time, 10-15 years being the average life expectancy.
It is therefore sensible to put a little extra time and effort into the selection and preparation of the area to be planted. Ground severely infested with perennial weeds such as water grass should not even be considered when selecting a site, for the weeds will almost certainly win the battle for the soil and its nutrients.
The soil should be loose and well drained, for the plants must develop extensive root systems if they are to grow away each spring and withstand the setback of a cutting season. Deep trenching is unnecessary for most vegetables, but asparagus is one of the exceptions and will reward the gardener generously for such treatment before planting.
The trenches should be 18 inches (45.72 cm) wide, 10 inches (25.4 cm) deep and of any convenient length. When the topsoil has been removed, the bottom of the trench should be loosened with a spade, fork or hoe and improved with liberal quantities of well-decomposed manure or compost, plus a handful (2 oz (75.6 g)) of 2:3:2 per yard of trench.
The soil that is removed should be improved in the same way and well mixed. During the preparation all stones should be removed, clods broken up and old roots disposed of.

Espoma Organic Lawn Soil is an all-natural organic soil mix designed to promote seed germination and help new sod establish. It contains earthworm castings, alfalfa meal, kelp meal, and feather meal, enhanced with Espoma MYCO-TONE, a blend of endo and ecto mycorrhizae fungi. Use it anytime you sow new grass seed or install sod for organic gardening results with no synthetic plant foods or chemicals.
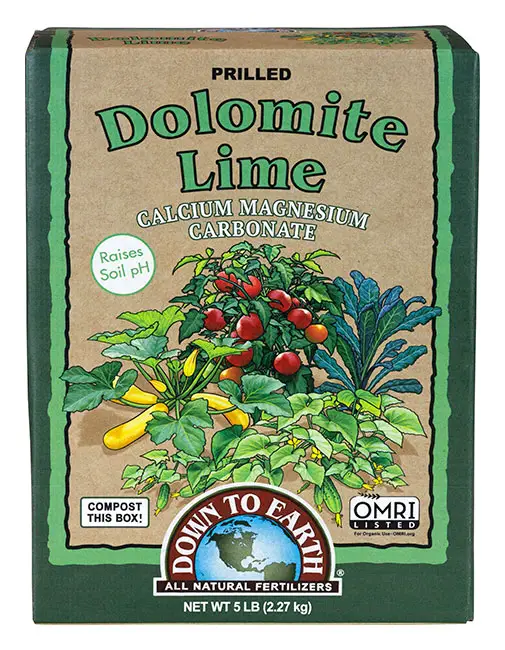
Down To Earth Organic Prilled Dolomite Lime helps raise acidic soil pH for better nutrient uptake and healthier vegetable gardens. Its rich calcium and magnesium support strong cell walls, root growth, and overall plant performance. OMRI listed for organic use, the prilled granules spread easily and act quickly while improving soil structure and microbial activity.
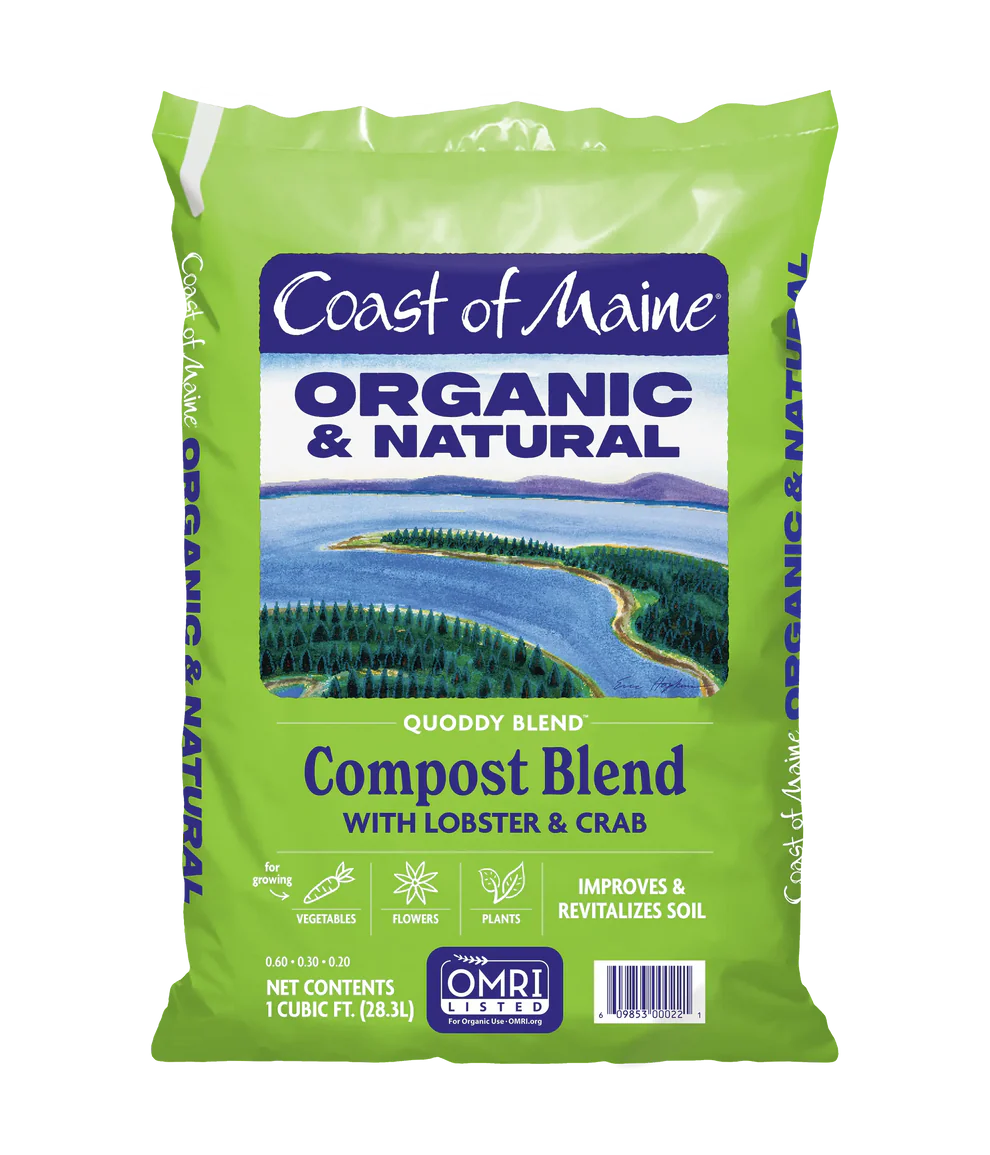
Coast of Maine’s Organic & Natural Quoddy Blend is a premium seafood compost made from lobster and crab shell meal, composted manure, and peat moss to enrich garden soil. It improves soil structure by supporting better drainage, aeration, and water retention for healthier root development. OMRI listed for organic use, it’s a versatile choice for gardens, beds, borders, trees, shrubs, and foliage.
Propagation of Asparagus
Seeds can be sown singly 5 inches (12.7 cm) apart in well-prepared seedbeds during the period September to December and covered with an inch of soil.
Soaking the seed overnight in lukewarm water gives improved germination according to some reports. The seeds germinate rather slowly, particularly in early sowings, but once they have emerged the seedlings grow quickly and should be encouraged to make as much growth as possible before cooler and perhaps drier weather comes along and the tops brown off.
The plants can be removed to their permanent quarters 10-12 months after sowing, but only good-sized crowns should be selected; any weak, undersized specimens must be discarded at this stage.
Growing plants from seed need only be by choice and not necessity, for several reputable nurserymen specialize in raising asparagus crowns on a large scale. Both one-and two-year-old crowns are usually offered and most of the time the stock is selected and of a high quality.
Strong one-year-old crowns are perhaps the best investment, for two-year-old crowns are more expensive and do not always re-establish themselves as well as the younger plants.
Planting Asparagus Crowns
The crowns, whether raised by the gardener or purchased, can be set out in their permanent quarters by one of two accepted methods. The first, which is very widely used, particularly in the home garden, consists of replacing some of the removed and improved soil and treading it lightly to leave a trench 6 inches (15.24 cm) deep.
In heavy soils this can be shallower.
A slight ridge is then drawn up down the center of the trench and on this the crowns are set out 18 inches (45.72 cm) apart with the roots spread as evenly as possible around the crown, care being taken not to damage them as they are somewhat brittle. The crowns can then be covered carefully with about 3 inches (7.62 cm) of soil, gently trodden and watered in.
During the growing season the trench can be closed completely to bring it up level with the ground.
The second method is used on deep fertile ground where no trenching is required.
Here the improving materials are laid 2 inches (5.08 cm) deep and 18 inches (45.72 cm) wide in a band where the rows are marked out and thoroughly incorporated into the topsoil with a fork or hoe. When this has been lightly trodden and watered it should be allowed to settle for a week or more.
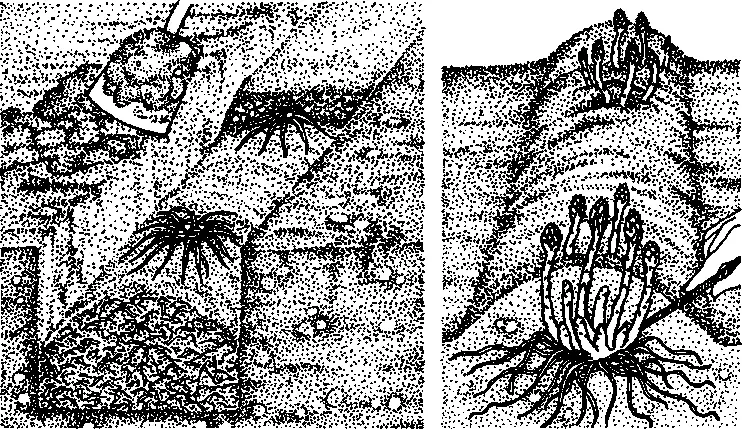
The planting procedure is to push a garden spade vertically into the soil to its full depth, and to lever it back to create a narrow, wedge-shaped hole behind the blade.
The crown is then carefully inserted into the hole behind the spade with the roots fanwise and the crown 3 inches (7.62 cm) or so below ground level. The spade is then withdrawn and the ground firmed with the boot on both sides of the slit.
After planting, a good soaking should be given. July/August is the most favorable planting period in most areas. At least 3 feet (0.91 meters) should be allowed between rows.
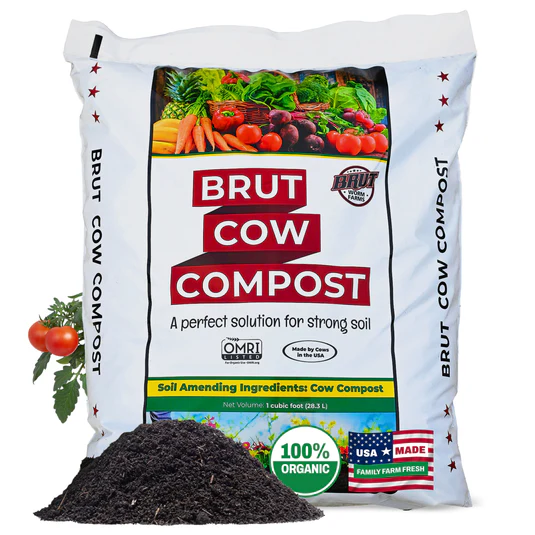
Brut Cow Compost is a nutrient-rich organic soil amendment made from 100% pure, thoroughly composted cow manure. It enriches soil with nitrogen, calcium, and iron, supports beneficial microbial life, and helps plants produce stronger growth. Odor-free and gentle on roots, it can be used for vegetables, flowers, lawns, shrubs, and indoor plants as a top dressing or mixed into garden and potting soil.
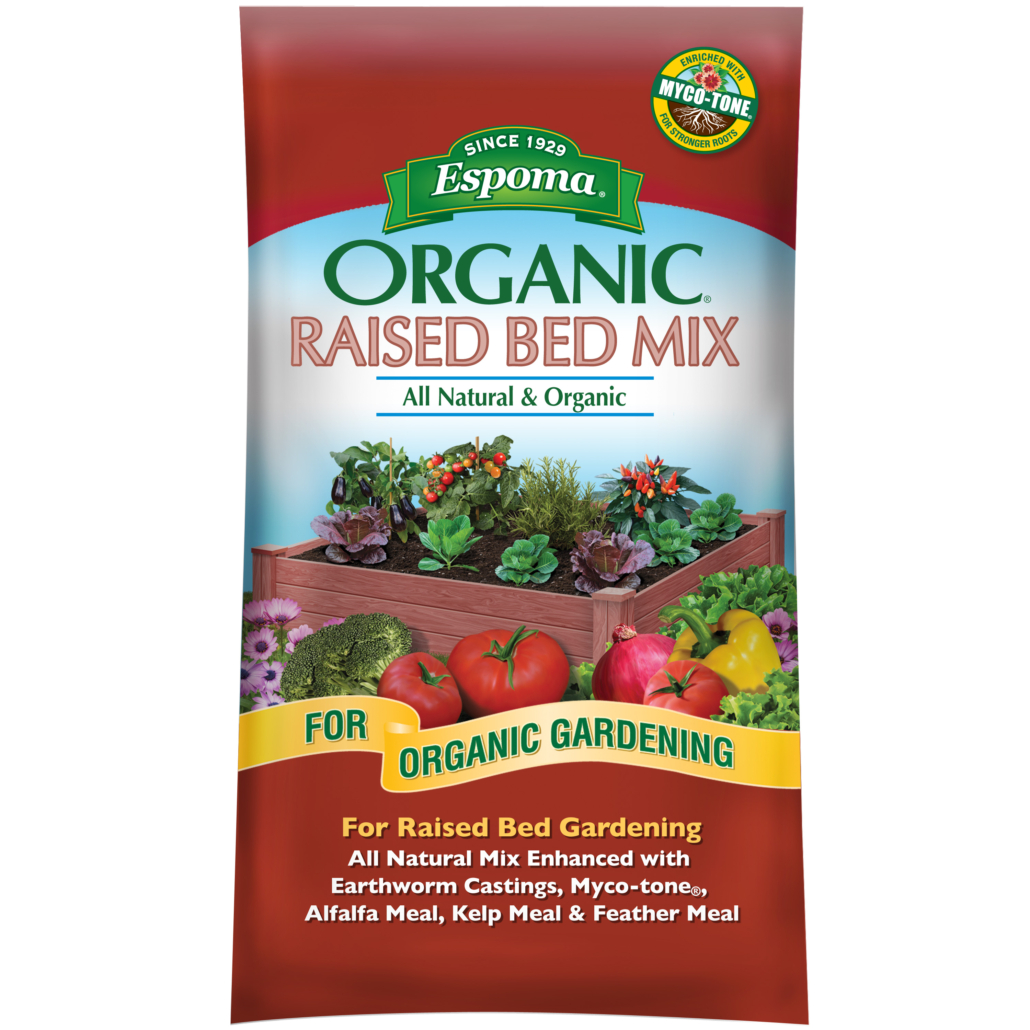
Espoma Organic Raised Bed Mix is an all-natural potting soil blend designed for raised garden beds and outdoor containers. It’s enriched with earthworm castings and organic meals for strong, healthy plant growth, plus MYCO-TONE with endo and ecto mycorrhizae. This ready-to-use mix contains no synthetic plant foods or chemicals, making it ideal for organic gardening.
How To Grow Asparagus: Further Treatment
Once the plants are established, the ground should be kept free of weeds by hand-pulling the weeds between plants in the row and by shallow cultivation between the rows. Deep cultivation is damaging even when well away from the crown, for the roots of plants in rows 2 m apart can bridge the gap completely within a few years.
A dormancy period of at least 3 months is very necessary if the planting is to remain vigorous and productive for many years. Dormancy is brought about naturally by very low temperatures, a dry period or a combination of both. In certain areas, rain and mild temperatures prevent true dormancy and the resulting year-round growth taxes the strength and vigor of the plants very severely.
After the cutting season, the plants should be allowed to go to grass and thereby replenish their spent reserves. A mulch of mature compost or manure can be spread in a band on either side of each row and can be covered with soil from the ridge when the tops start yellowing.
When the top growth has yellowed off at the beginning of the dormancy period it should be cut as closely as possible to soil level and removed from the site. Any ‘volunteer’ growth should be removed as it appears.
When the plants are required to resume growth a handful of 2:3:2 per yard of row can be broadcast.
A flattened ridge of soil 6 inches (15.24 cm) and 18 inches (45.72 cm) across at the base should then be drawn up over the rows and a thorough watering given. The soil incorporated into the ridge should be as free as possible from clods and stones otherwise few straight spears will be harvested.
Do not draw up the ridge if green asparagus is required.
Harvesting Asparagus
A short cutting season of no more than 2-3 weeks is permissible 12 months after planting out, provided that the crowns are vigorous and have made satisfactory growth. However, better long-term yields can be expected if the gardener can be patient for another year before starting to harvest.
Thereafter, the cutting season can be extended by a week or so each year to a maximum of 10-12 weeks on vigorous, healthy plantings.
However, the gardener must use his discretion and shorten the season if spear size declines appreciably.
On mature plants a spear diameter of half an inch is the minimum that is acceptable. During the cutting season all spears, large and small, should be harvested, otherwise those that go to grass will draw heavily on the plant’s resources.
The spears should be cut as soon as the tips protrude through the ridge cap and the cutting should be carried out carefully, otherwise damage to younger, unseen spears may result.
A special asparagus knife is manufactured which you can find here. A serviceable substitute can be made from a thin piece of steel 12 inches (30.48 cm) long and 1 inch (2.54 cm) wide. It should be sharpened at one end so that it has a cutting edge similar to that of an ordinary wood chisel and at least as sharp! This knife is then jabbed into the base of the ridge below the protruding spear at an angle of 45° to sever it.
The cutting of green asparagus is quite straightforward and requires no special tool or technique. Asparagus must be cut regularly, even daily during hot weather, if unnecessary losses are to be avoided.
When cut, the spears can be left for some days in water in the refrigerator, or they can be bunched and stood upright in a flat dish containing about 1 inch (2.54 cm) of cold water.
Pests Affecting Asparagus
Cutworms can be a permanent problem on asparagus and often feed on the young spears. They can be controlled with carbaryl and BHC formulations or with a bait containing sodium fluosilicate.
Asparagus beetle, a regular pest wherever asparagus is grown, feeds on the foliage during the summer months.
Dusting with BHC should give satisfactory control.
Slugs and snails can be controlled with bait pellets.
Asparagus Diseases
Rust has been a very serious problem on both commercial and home-garden plantings for very many years.
Light infestations can be reasonably well controlled with Dithane M45 or copper sprays early in the season.
However, the use of resistant cultivars is the only real answer and those of the Washington strains appear to be in the forefront in this regard.
