How to Get Rid of Ants in Your Car
Ants in a car are almost always there for one of two reasons: the car is parked over or adjacent to an ant colony, providing access and a protected indoor environment, or there is a food source inside the car that workers have found and are exploiting through a pheromone trail. In either case, the ant presence in the vehicle is a foraging and nesting behavior driven by the colony, not a standalone car problem, and the solution addresses both the access point and the colony rather than just treating the interior.
Why You Should Not Spray Insecticide Inside a Car
Aerosol insecticides, while tempting as a first response to visible ants in the car cabin, are a poor choice for this application. Aerosol sprays in an enclosed vehicle create a concentrated chemical environment that leaves residue on surfaces including the steering wheel, gear shift, and seat fabric that occupants will contact directly. Many aerosol formulations are not labeled for use in food-contact or skin-contact environments, which is relevant when the treated surface is the same surface you touch while driving. Residue on electronics and wiring harnesses is also a concern in modern vehicles with extensive cabin electronics.
Gel bait is the appropriate product for ant elimination inside a vehicle because it is applied in precise, small amounts that workers collect and carry back to the colony, it does not leave an airborne chemical residue, and it is safe for placement in the enclosed environments where ant activity is occurring.
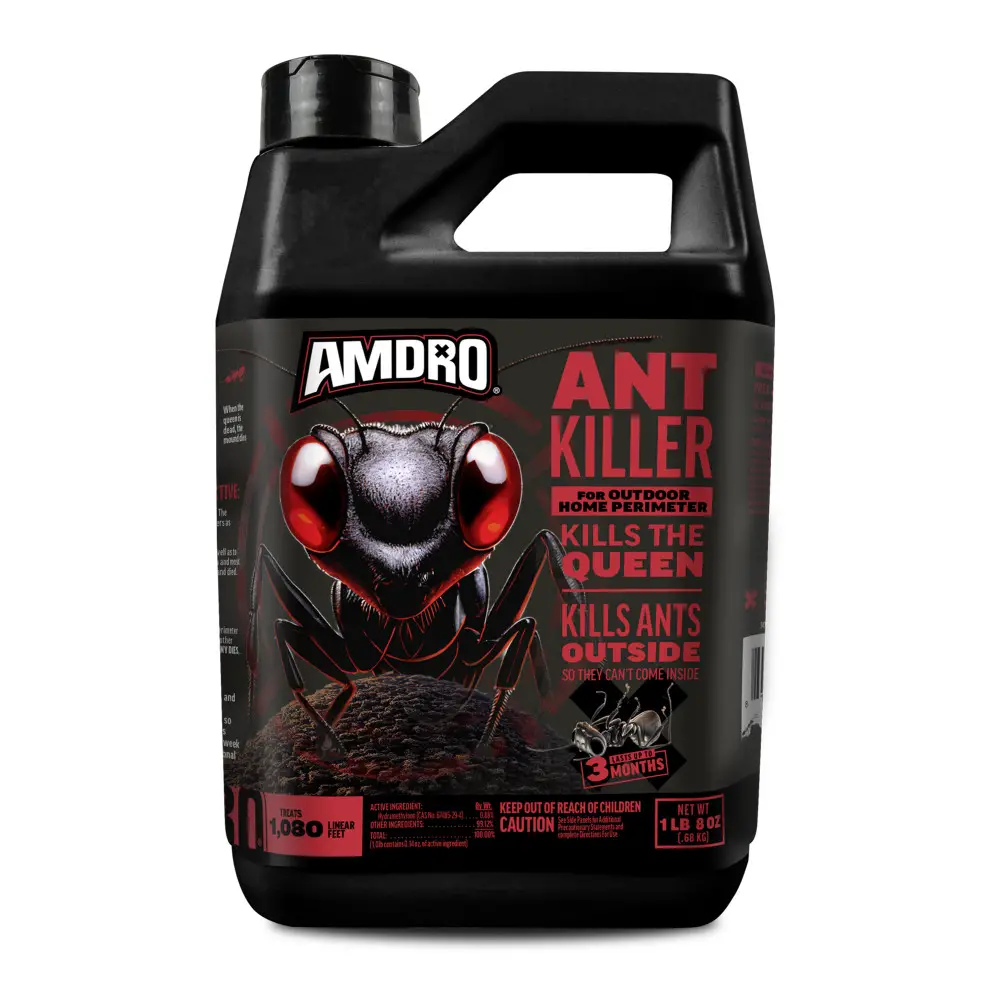
Amdro Ant Killer for Outdoor Home Perimeter creates a protective band that attracts and kills listed common ant species before they enter your home. Dual-action bait foraging workers carry it back to their colonies, helping reduce visible ants within about a week and stopping the colony, including the queen. For best results, apply when ants are active, and keep the treatment working up to three months for ongoing perimeter protection.
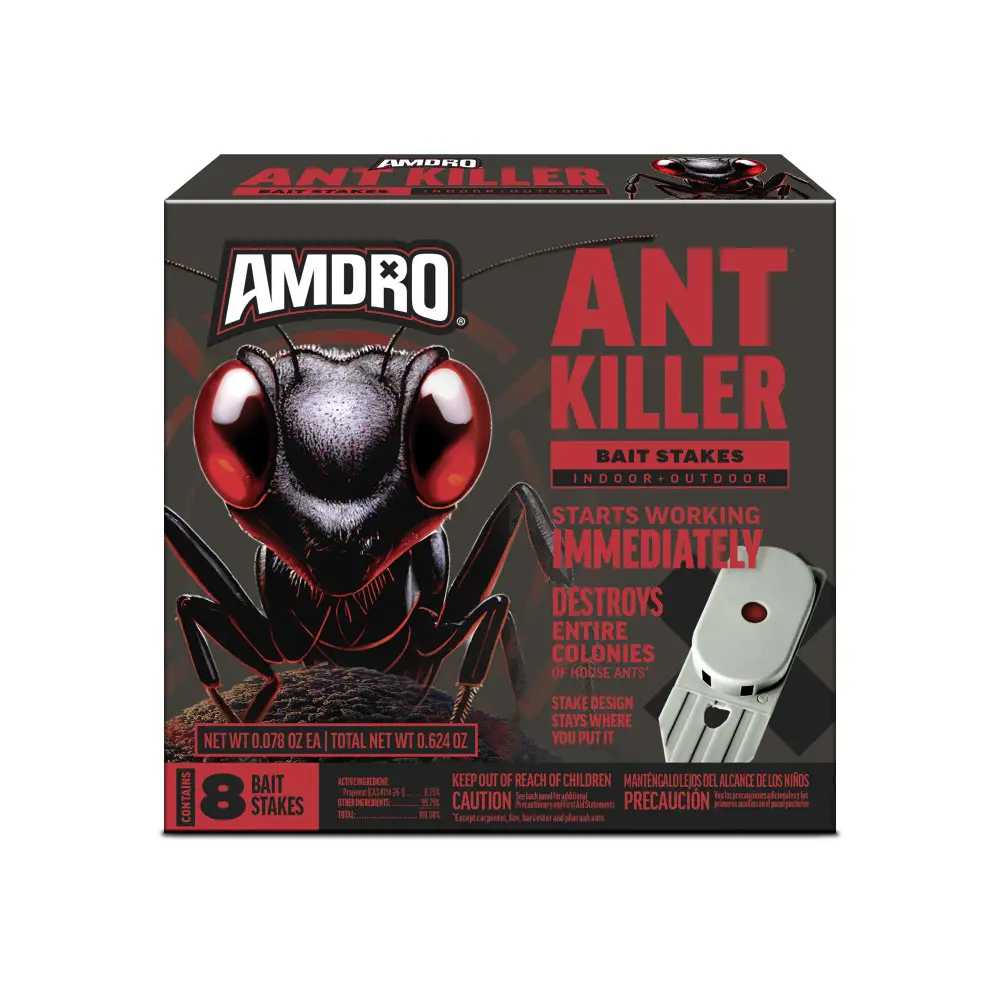
Amdro Ant Killer Bait Stakes destroy entire house ant colonies with a dual-action formula that attracts and kills sweet and grease eating ants. The pre-filled stakes are ready to use with no activation and can be placed indoors near ant trails or outdoors around your home perimeter. For best results, replace every 3 to 6 months and use year-round to help prevent ant infestations.
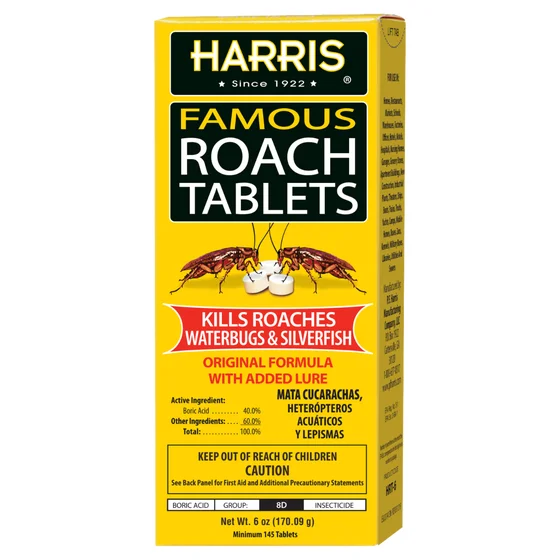
Harris Roach Tablets use boric acid with a formulated lure to attract roaches and help eliminate infestations at the source. The EPA-registered tablets are long lasting when kept dry and are designed to kill the entire colony by roaches carrying the bait back to their nests. Easy to conceal in hidden areas like under drawers, appliances, and cabinets, they offer an alternative to bait traps for treating multiple rooms.
Step 1: Move the Car Away from the Colony
If the car is regularly parked in the same spot over or adjacent to ground-level ant activity, the ants likely enter through the undercarriage and wheel wells rather than through a door or window seal. Moving the car to a different parking location, one not directly over an active ant colony or adjacent to a heavily infested area, eliminates the most direct access pathway and dramatically reduces ant traffic into the vehicle. This step alone often resolves the problem for cars whose ant activity is entirely tied to parking location.
For cars parked in driveways adjacent to active ant mounds, treating the mound or the driveway perimeter with a granular ant bait before moving the vehicle addresses the colony source. The full outdoor ant treatment protocol is covered in our ant hills and outdoor nests guide.
Step 2: Remove Every Food Source from the Vehicle
Ants follow pheromone trails to food sources with remarkable precision, and even very small food residues, a few crumbs under the seat, a sticky residue from a spilled drink in the cup holder, a candy wrapper in the door pocket, are sufficient to sustain active foraging. Remove all food, wrappers, and containers from the car. Vacuum the interior thoroughly, paying particular attention to seat crevices, under seats, floor mat edges, and the cargo area. Wipe out cup holders and console storage with a damp cloth to remove any sugar or food residue.
If the ant trail is visible, follow it from where the ants are active back toward their entry point to identify the food source they are exploiting. Workers travel in relatively direct lines toward a food source and return along the same route, making it possible to trace the trail from the food location back to the entry point with patient observation.
Step 3: Identify and Treat the Entry Point
Ants enter vehicles most commonly through gaps around rubber door seals that have shrunk or cracked with age, through openings in the firewall where wiring passes through, through wheel well openings in the floor pan, and through open windows or sunroofs when the car is parked. Inspect the door seals for visible gaps and deterioration. If the ant entry point is through the floor pan or firewall, these are harder to seal but can be treated with a small amount of gel bait placed at the interior opening.
Apply a thin line of petroleum jelly or a food-safe grease to door seals and window tracks as a temporary physical barrier while the colony is being eliminated through bait. Ants are reluctant to cross sticky or oily substances. Do not use insecticide spray on door seals or rubber components, as solvent-based aerosols can degrade rubber over time.
Step 4: Place Gel Bait Inside the Vehicle
Gel bait placed in small amounts in areas of ant activity inside the car is the most effective product for colony elimination. Apply small drops (about the size of a match head) in spots where ant activity is concentrated: inside the cup holders, in the corner of the dashboard where workers have been observed, along the door sill where the trail enters, and under the seat nearest the entry point. Use a product containing borax (Terro Liquid Ant Bait) for sweet-feeding ant species or a fipronil gel bait for odorous house ants or carpenter ants.
Do not apply bait directly on electronics, wiring, or near the fuse box. Place bait on a small piece of cardboard or tape it to a surface that keeps it away from sensitive components.
Step 5: Treat the Parking Area for the Source Colony
The most durable solution for recurring car ant problems is reducing or eliminating the outdoor colony adjacent to the parking area. Granular ant bait applied around the driveway perimeter, along the grass edge adjacent to pavement, and directly to visible mounds addresses the colony that is sourcing the vehicle invasion. A perimeter treatment with a residual pyrethroid granule or spray along the pavement edge creates a chemical barrier that discourages forager access to the vehicle from outside.
For a comparison of the best bait products for different ant species and activity levels, see our best ant bait and killer guide.