Raised Bed Vegetable Gardening: Setup, Depth, and Planting
Raised beds are the most productive format for a home vegetable garden, providing control over soil quality, better drainage than in-ground beds in most sites, and earlier soil warming in spring that extends the growing season at both ends. Setting them up correctly from the start means you avoid the common mistakes that compromise production in the first few seasons.
Frame Materials
Cedar and redwood are the traditional choices for raised bed frames because both species contain natural oils that resist decay without chemical treatment. A cedar raised bed built from 38 by 184-millimeter boards lasts 10 to 15 years in most climates. Composite lumber made from recycled wood and plastic is more expensive but virtually permanent and does not leach anything into the soil.
Avoid treated pine in contact with food crops unless the preservative used is copper azole or similar food-safe modern treatment. The older chromated copper arsenate (CCA) treatment, recognizable by its greenish color and found in older lumber, contains arsenic and should never be used around food gardens.
Galvanized steel raised bed kits are popular for their durability and modern aesthetic. They heat up faster than timber in spring, which can extend the season at the front end, and they are impervious to rot. The galvanized coating is inert and does not affect soil or crops.
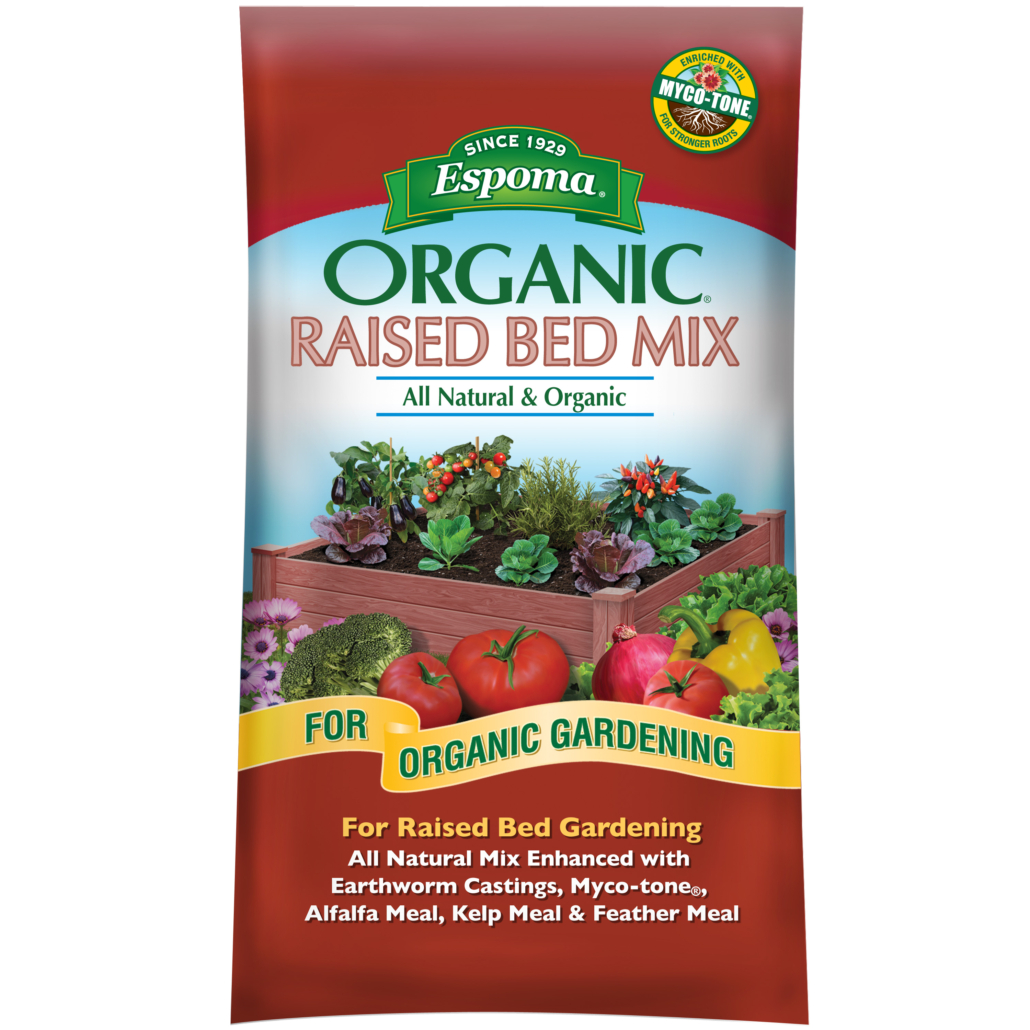
Espoma Organic Raised Bed Mix is an all-natural potting soil blend designed for raised garden beds and outdoor containers. It’s enriched with earthworm castings and organic meals for strong, healthy plant growth, plus MYCO-TONE with endo and ecto mycorrhizae. This ready-to-use mix contains no synthetic plant foods or chemicals, making it ideal for organic gardening.
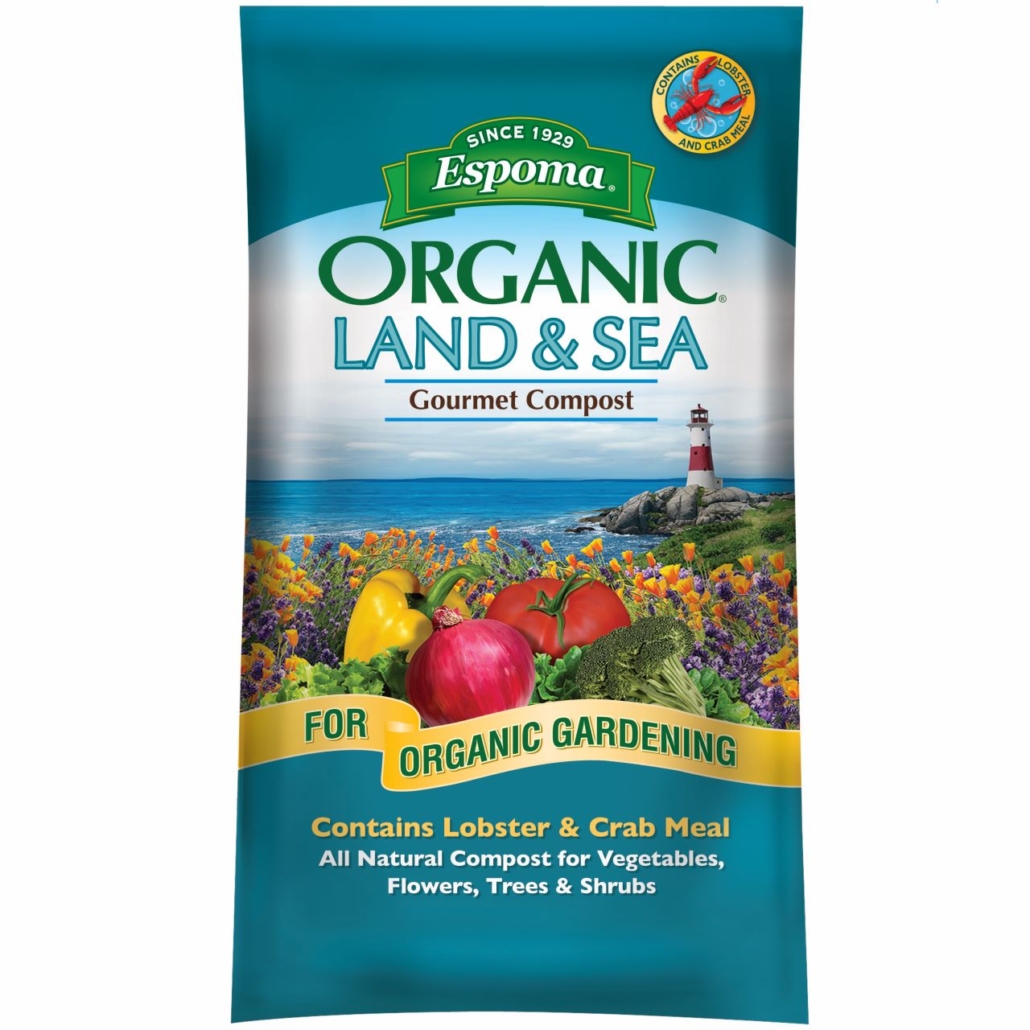
Espoma Organic Land and Sea Gourmet Compost is a rich organic planting mix designed to improve native soil and revitalize container gardens. Enriched with both lobster and crab meal, it supports healthy growth for vegetables, flowers, trees, and shrubs. The blend also includes myco-tone endo and ecto mycorrhizae and contains no synthetic plant foods or chemicals.
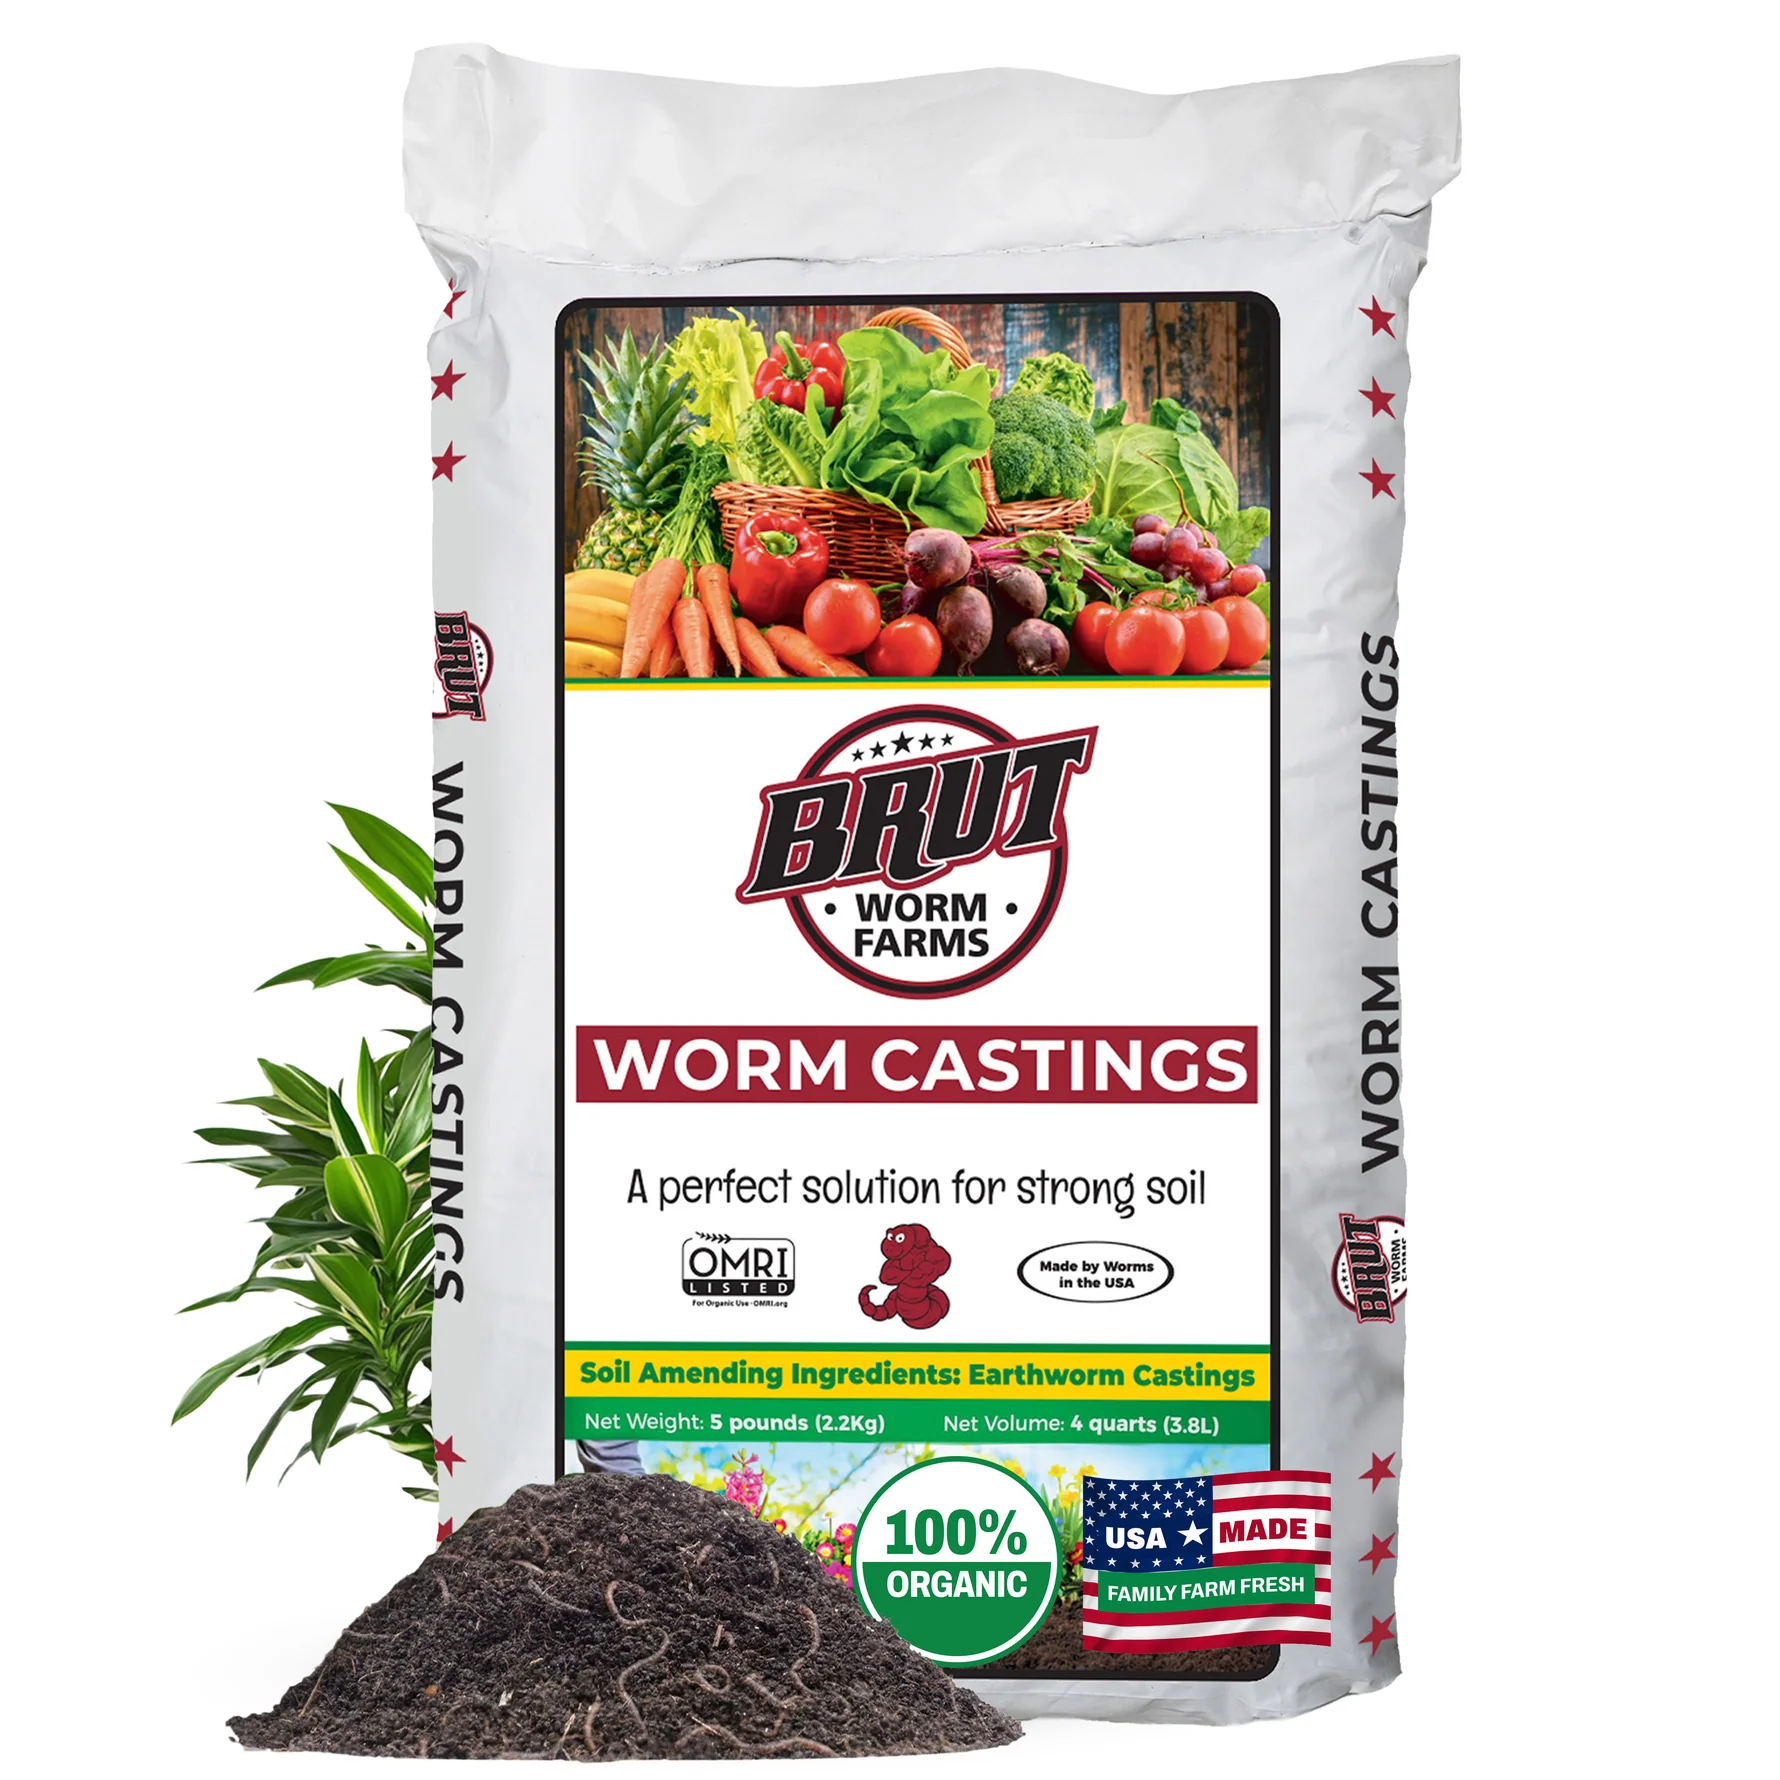
Brut organic worm castings provide mineral-rich, certified organic nutrition to supercharge indoor and outdoor plants. Raised indoors in containers for purity, these castings support lush greenery, vibrant blooms, and bountiful harvests. OMRI and CDFA listed formula helps deliver nature’s nutrients directly to plant roots for healthy growth from root to leaf.
Bed Dimensions and Depth
Maximum width is 1.2 meters, which allows comfortable reach to the center from either side without stepping on the bed surface. Length is flexible. A standard 1.2 by 2.4 meter bed is a manageable unit for crop planning and rotation.
Depth is matched to the crops you plan to grow. Shallow-rooted crops including most salad greens, herbs, radishes, and green onions grow in 15 to 20 centimeters of good soil. Most vegetables including beans, brassicas, squash, and onions root comfortably in 30 centimeters. Deep-rooted crops including carrots, parsnips, tomatoes, and asparagus benefit from 45 centimeters or more. If space or budget limits you to shallower beds, grow the deep-rooted crops elsewhere or in containers.
Base Preparation and Filling
Clear existing vegetation from the ground beneath the bed before assembly. Once the frame is in place, lay cardboard over the cleared ground inside the frame to suppress any weed regrowth from below. The cardboard decomposes within one to two seasons and adds some organic matter.
Fill with a quality raised bed mix rather than garden soil, which compacts in the enclosed space of a raised bed. The most reliable raised bed mix is one-third blended compost, one-third peat or coir, and one-third coarse vermiculite or perlite. A simpler and less expensive alternative for larger beds is 60 percent topsoil, 30 percent compost, and 10 percent coarse sand. The full soil mix guidance is in the best soil for raised beds guide.
The amount of compost you incorporate at setup and how to apply it are covered in the compost for vegetable garden guide, which provides specific application rates for new beds versus established top-dressing.
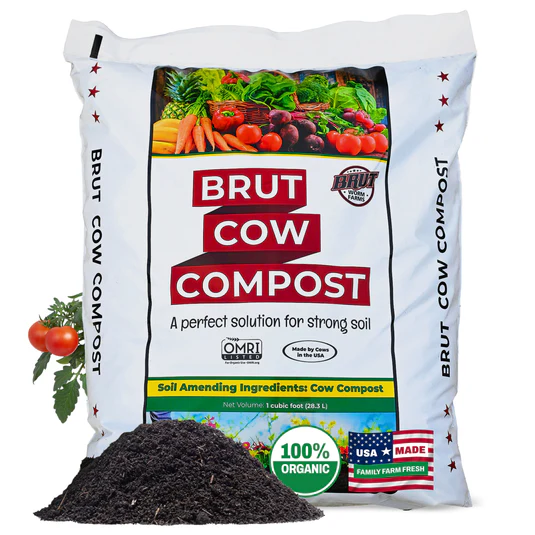
Brut Cow Compost is a nutrient-rich organic soil amendment made from 100% pure, thoroughly composted cow manure. It enriches soil with nitrogen, calcium, and iron, supports...
First Season and Ongoing Maintenance
Water the filled bed thoroughly before planting to settle the medium and identify any drainage issues. Allow 24 to 48 hours, then plant or sow directly. Raised beds warm faster than in-ground soil, so planting can begin 1 to 2 weeks earlier in spring than the standard last frost date for your area.
Raised bed soil settles and loses volume as organic matter decomposes. Plan to top-dress with 5 to 10 centimeters of compost each spring to restore the level and replenish organic content. After several years, if the bed’s drainage has noticeably declined, refresh the top 15 centimeters by mixing in fresh compost and perlite before replanting.