How to Start a Vegetable Garden from Scratch
Starting a vegetable garden from nothing is one of the most achievable home improvement projects available to a homeowner with outdoor space. The learning curve is real but manageable, and a well-planned first garden delivers edible results in the same season it is planted. This guide walks through every decision in sequence, from choosing where to put the garden through to getting seeds or transplants in the ground.
Step 1: Choose the Right Site
Sunlight is the non-negotiable factor in vegetable garden site selection. Most food crops need a minimum of 6 hours of direct sun per day, with 8 hours or more producing better yields of fruiting crops like tomatoes, beans, and cucumbers. Leafy greens and herbs tolerate 4 to 5 hours of sun and are the best choices for partially shaded locations.
Avoid low-lying areas where water pools after rain: waterlogged soil causes root rot and produces stunted, disease-prone plants. Avoid locations directly beneath trees: root competition and shade from the canopy both reduce productivity, and allelopathic compounds released by some trees (notably walnut) inhibit vegetable growth.
Proximity to a water source matters practically. A vegetable garden that requires carrying water long distances from a tap is a garden that gets under-watered in summer. Position the garden within reach of a hose or install a drip irrigation connection before planting.
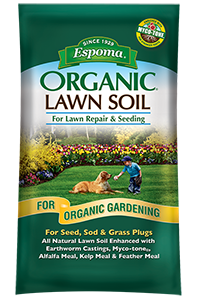
Espoma Organic Lawn Soil is an all-natural organic soil mix designed to promote seed germination and help new sod establish. It contains earthworm castings, alfalfa meal, kelp meal, and feather meal, enhanced with Espoma MYCO-TONE, a blend of endo and ecto mycorrhizae fungi. Use it anytime you sow new grass seed or install sod for organic gardening results with no synthetic plant foods or chemicals.
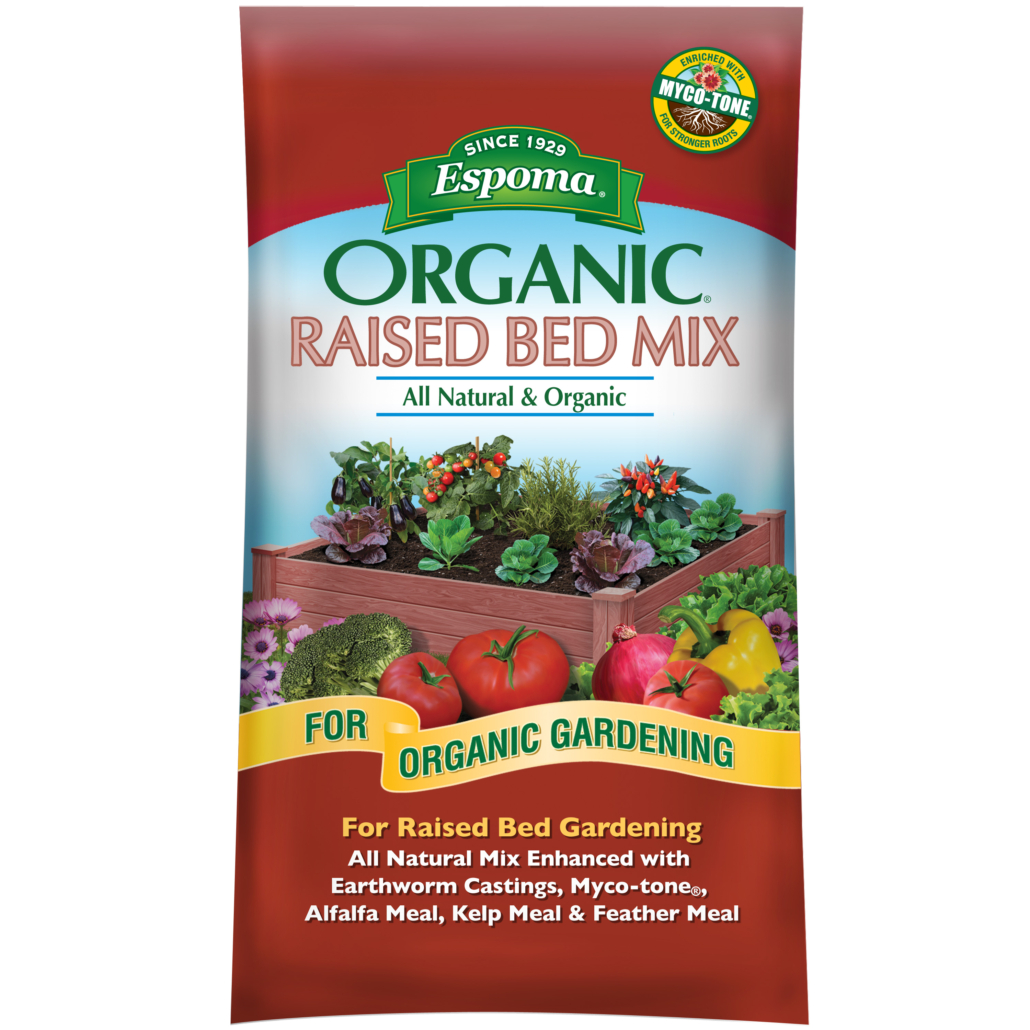
Espoma Organic Raised Bed Mix is an all-natural potting soil blend designed for raised garden beds and outdoor containers. It’s enriched with earthworm castings and organic meals for strong, healthy plant growth, plus MYCO-TONE with endo and ecto mycorrhizae. This ready-to-use mix contains no synthetic plant foods or chemicals, making it ideal for organic gardening.
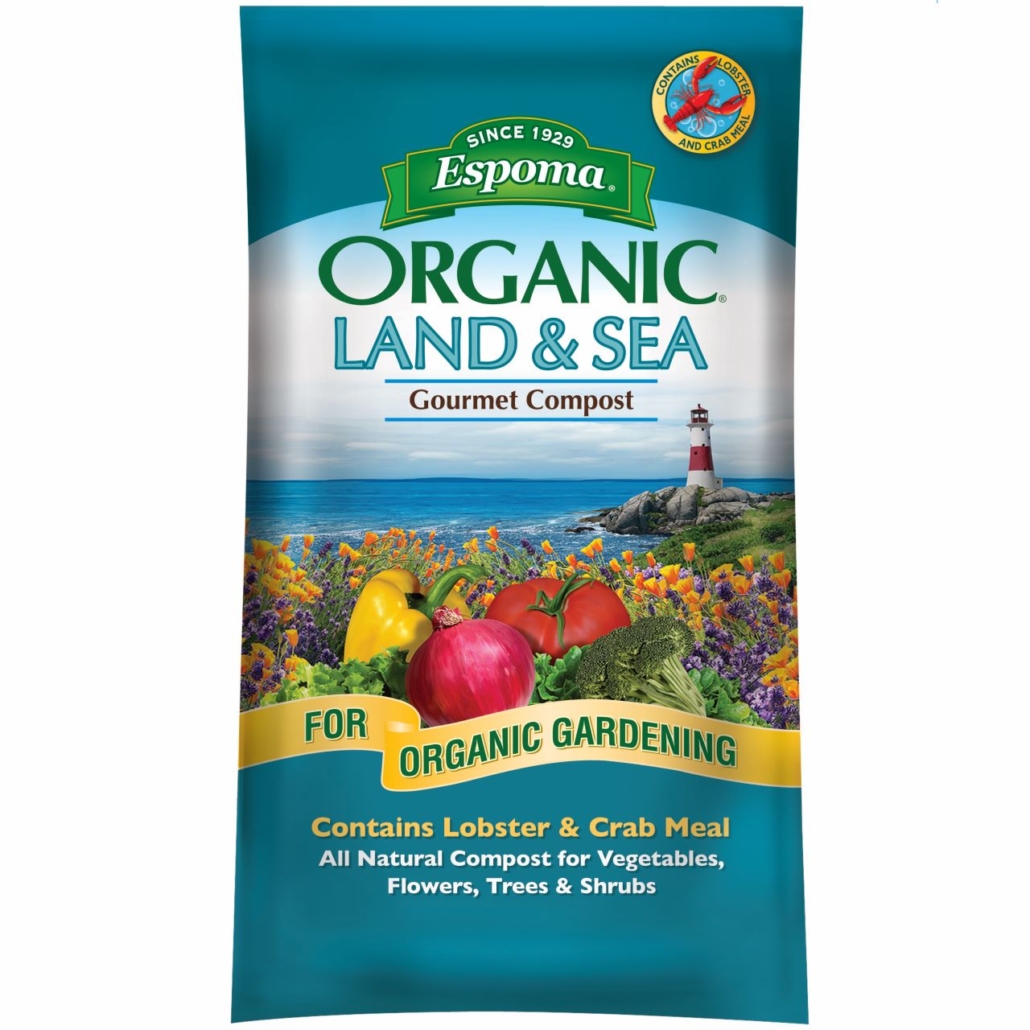
Espoma Organic Land and Sea Gourmet Compost is a rich organic planting mix designed to improve native soil and revitalize container gardens. Enriched with both lobster and crab meal, it supports healthy growth for vegetables, flowers, trees, and shrubs. The blend also includes myco-tone endo and ecto mycorrhizae and contains no synthetic plant foods or chemicals.
Step 2: Decide on Bed Type and Size
For a first garden, smaller is better. One or two beds of 1.2 meters by 2.4 meters is a manageable, productive starting size that teaches you how a vegetable garden works without overwhelming you with maintenance. A 1.2-meter maximum width allows you to reach the center from either side without stepping on the growing area, which is important for soil structure.
In-ground beds are lower cost to establish but require working with whatever soil you have. Raised beds cost more upfront but give you complete control over the growing medium and produce faster results in the first season, particularly if your native soil is heavy clay, very sandy, or contaminated. The full raised bed setup process, including construction, drainage, and soil mix, is covered in the raised bed vegetable gardening guide.
Step 3: Clear and Prepare the Ground
Remove existing grass and weeds thoroughly before building or planting. The most reliable method for a new bed in an existing lawn is solarization: cover the area with clear plastic sheeting for 6 to 8 weeks in summer to kill grass, weed seeds, and some soil-borne pathogens. The no-dig method uses layered cardboard and compost to smother existing vegetation while building soil from above, which works well but takes a full season to fully kill persistent perennial weeds.
For in-ground beds after clearing, loosen the soil to 30 centimeters depth with a fork and incorporate 10 to 15 centimeters of compost or well-rotted manure. This organic matter improves drainage in heavy soils, water retention in sandy soils, and adds the nutrient base that supports a full growing season of cropping.
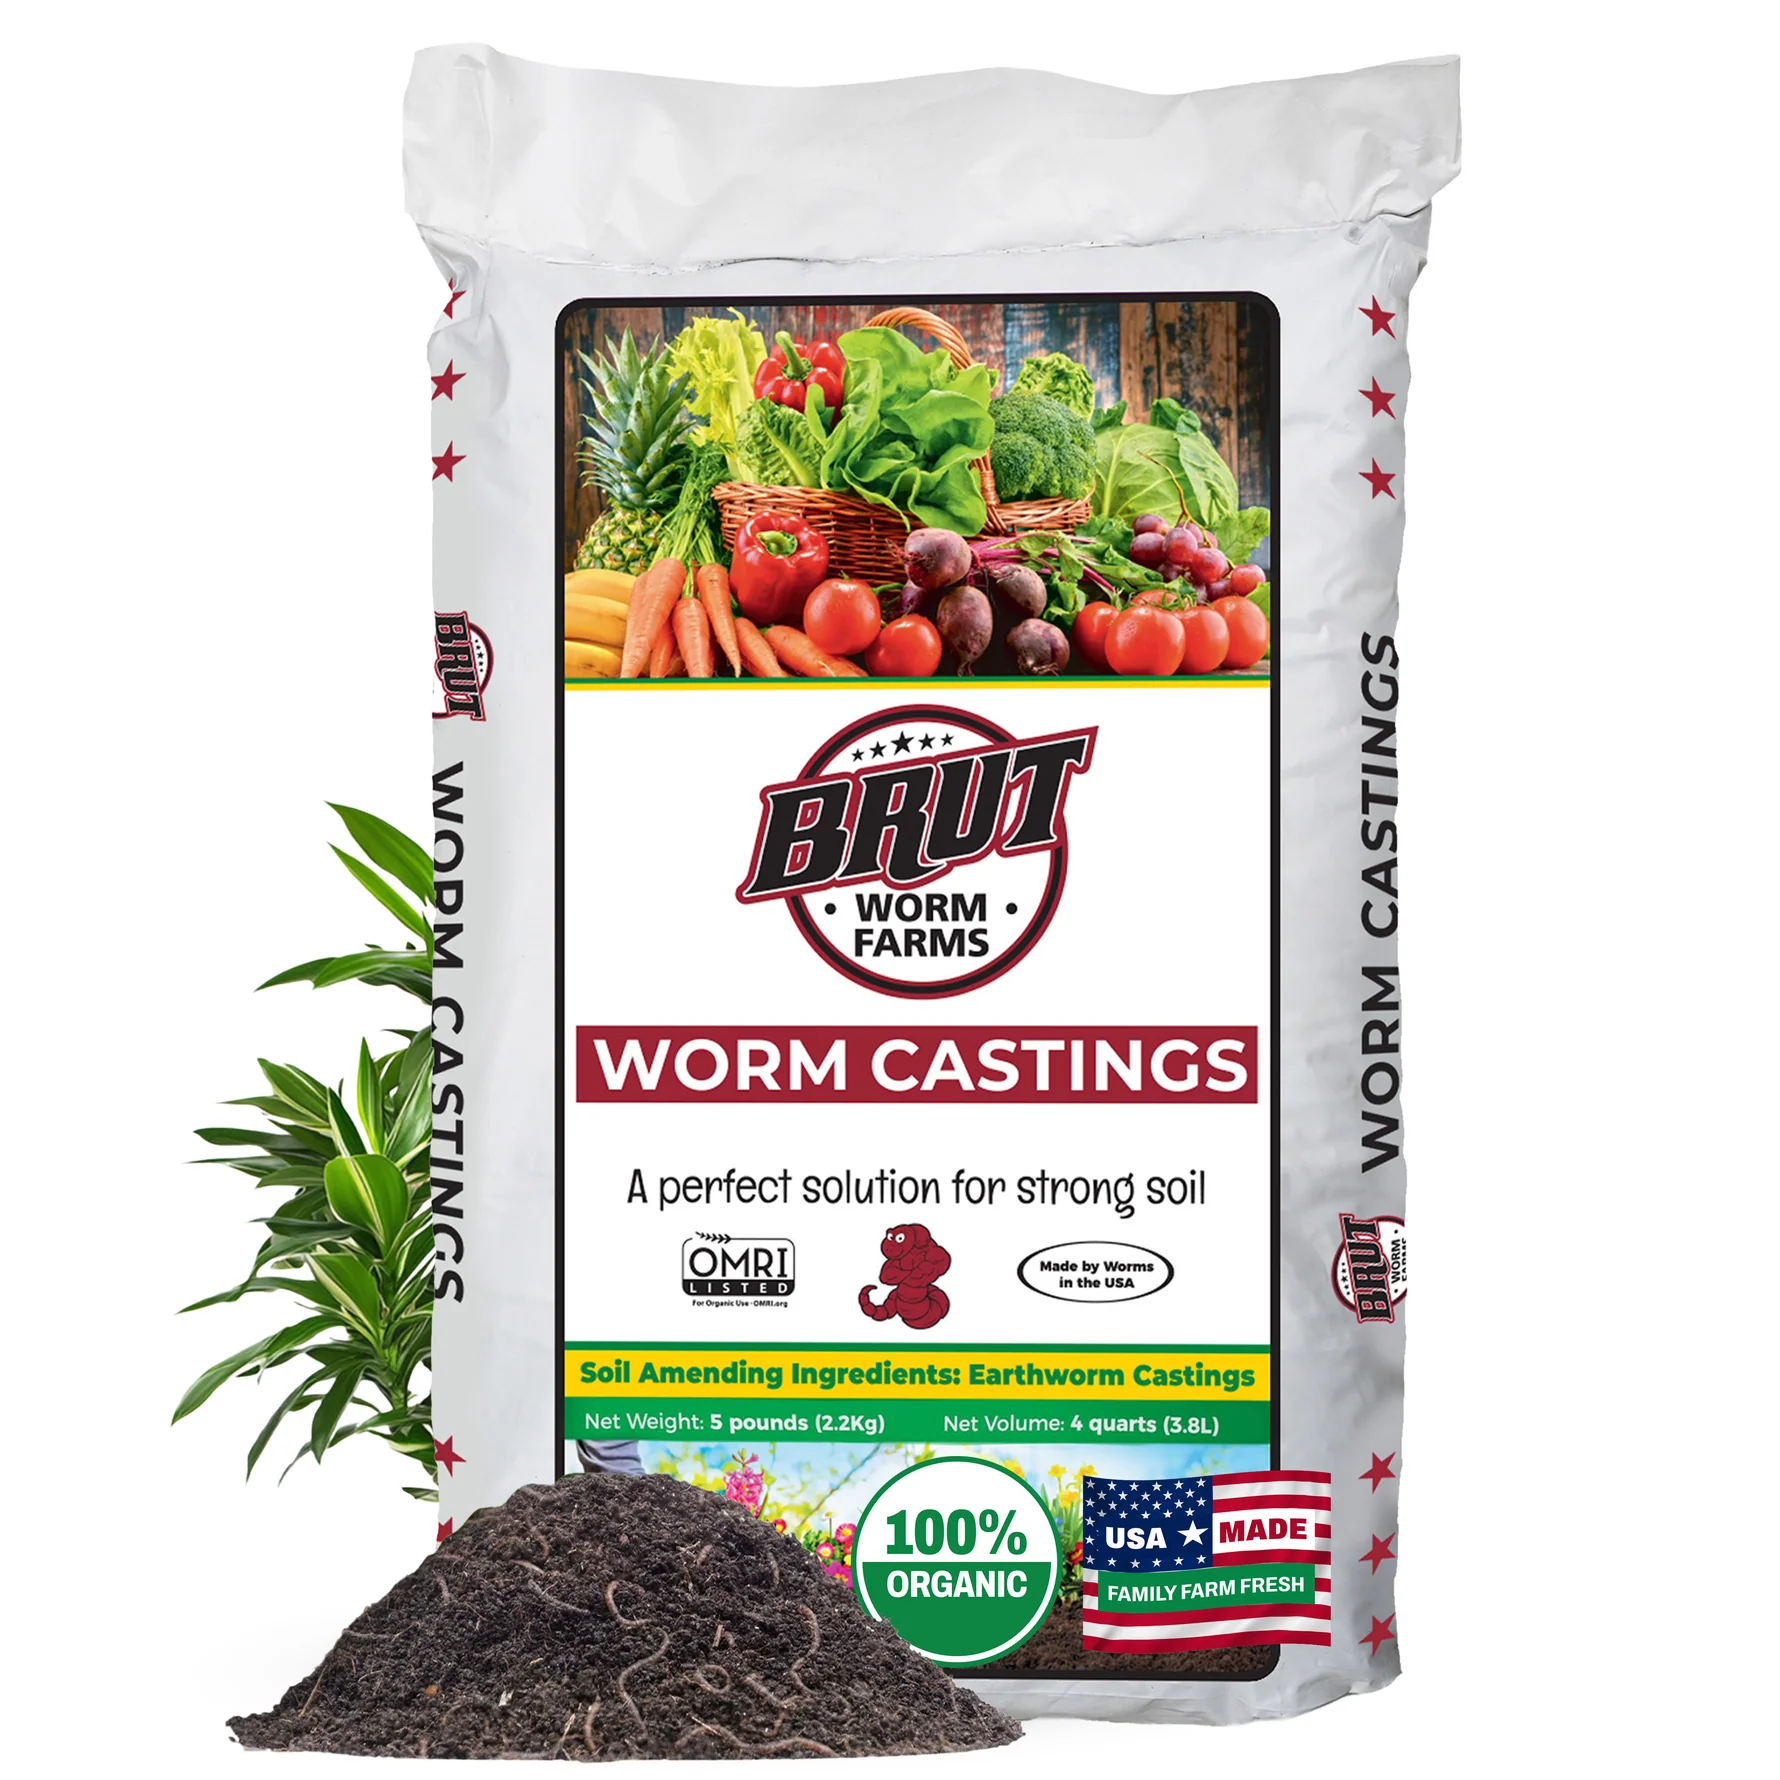
Brut organic worm castings provide mineral-rich, certified organic nutrition to supercharge indoor and outdoor plants. Raised indoors in containers for purity, these castings support lush greenery, vibrant blooms, and bountiful harvests. OMRI and CDFA listed formula helps deliver nature’s nutrients directly to plant roots for healthy growth from root to leaf.
Brut Cow Compost is a nutrient-rich organic soil amendment made from 100% pure, thoroughly composted cow manure. It enriches soil with nitrogen, calcium, and iron, supports beneficial microbial life, and helps plants produce stronger growth. Odor-free and gentle on roots, it can be used for vegetables, flowers, lawns, shrubs, and indoor plants as a top dressing or mixed into garden and potting soil.
Step 4: Test and Amend Soil pH
Most vegetables grow best in soil with a pH between 6.0 and 7.0. Test your soil pH with an inexpensive meter before planting. If the pH is outside this range, amend before planting rather than after: ground limestone raises pH in acidic soil, and elemental sulfur lowers pH in alkaline soil. Allow 4 to 8 weeks for amendments to act before planting.
Step 5: Choose Crops for Your First Season
Beginner-friendly crops reward with fast germination, quick harvests, and minimal pest problems: salad greens, radishes, zucchini, green beans, and cherry tomatoes. These build confidence and produce edible results within 30 to 60 days of planting for most varieties. Avoid crops with complex management in the first season: celery, brassicas, and melons all have specific requirements that are better tackled once the basic garden rhythm is established.
Match crop selection to your season. Cool-season crops including lettuce, spinach, peas, and brassicas grow best in spring and autumn when temperatures are below 25 degrees Celsius. Warm-season crops including tomatoes, beans, cucumbers, and squash need soil above 15 degrees Celsius and are planted after the last frost date. Planning across both seasons doubles your productive window.