How to Propagate Hydrangeas from Cuttings
Propagating hydrangeas from cuttings is one of the most reliable and cost-effective ways to produce new plants. A single established hydrangea can yield dozens of cuttings in a single season, each capable of producing a full-sized flowering shrub within two to three years. Softwood cuttings taken in late spring to early summer give the highest success rates.
The Best Time to Take Cuttings
Softwood cuttings are taken from the current season’s new growth before it has matured and become woody. The ideal growth stage is when the new shoots are firm enough to handle without breaking but still pliable and green, typically in late spring to early summer when the plant is actively growing. Avoid taking cuttings from flowering stems: non-flowering stem tips root more reliably because the plant’s energy is directed toward vegetative growth rather than reproduction.
A secondary window for cuttings is late summer into early autumn, when semi-hardwood cuttings from the current season’s growth can also be used. These take longer to root but succeed in good conditions.
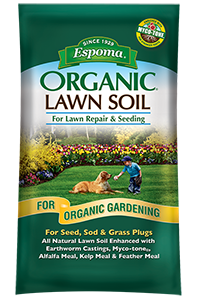
Espoma Organic Lawn Soil is an all-natural organic soil mix designed to promote seed germination and help new sod establish. It contains earthworm castings, alfalfa meal, kelp meal, and feather meal, enhanced with Espoma MYCO-TONE, a blend of endo and ecto mycorrhizae fungi. Use it anytime you sow new grass seed or install sod for organic gardening results with no synthetic plant foods or chemicals.
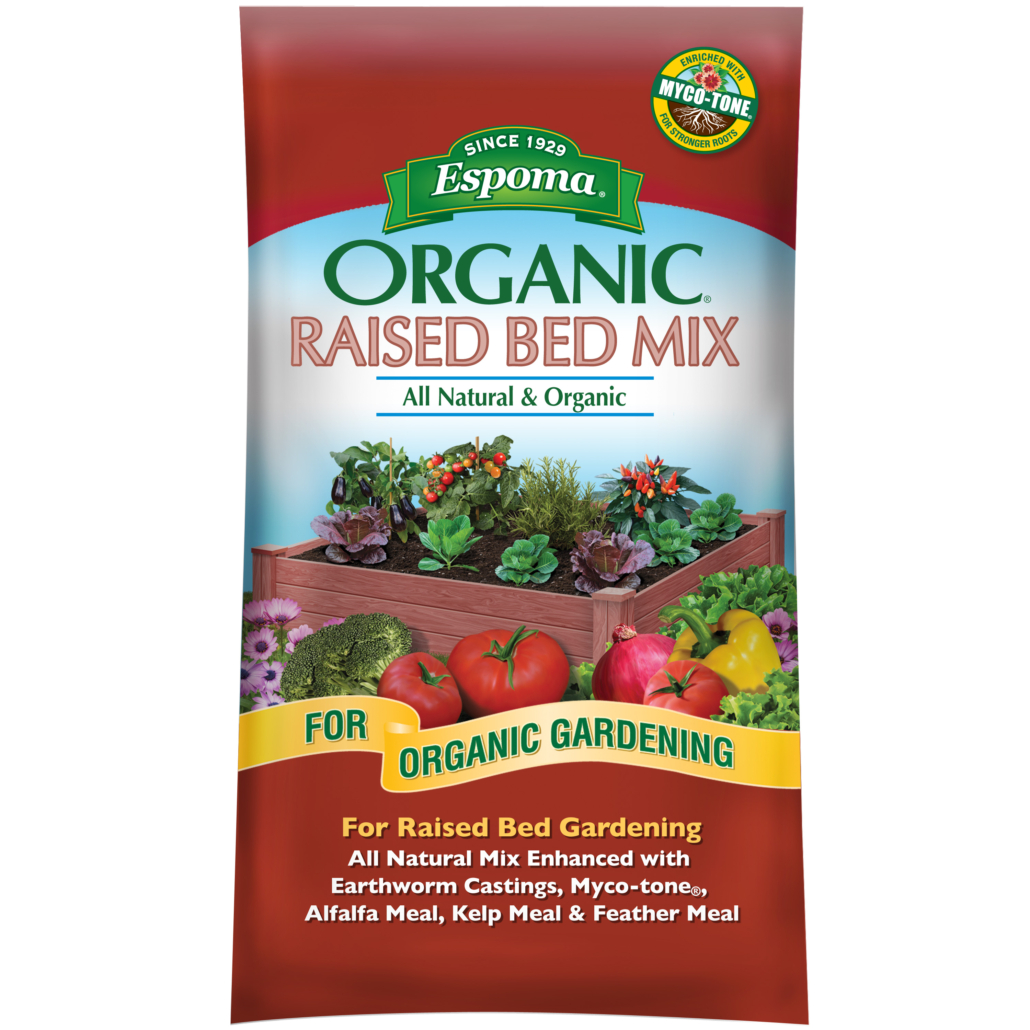
Espoma Organic Raised Bed Mix is an all-natural potting soil blend designed for raised garden beds and outdoor containers. It’s enriched with earthworm castings and organic meals for strong, healthy plant growth, plus MYCO-TONE with endo and ecto mycorrhizae. This ready-to-use mix contains no synthetic plant foods or chemicals, making it ideal for organic gardening.

HARRIS Neem Oil Cold Pressed Water Soluble Concentrate is a 3-in-1 insecticide, fungicide, and miticide made from 100% cold pressed neem oil. It is EPA registered to help control aphids, whiteflies, mildew, spider mites, and other label-listed pests and diseases. Safe for indoor and outdoor use, it can be applied to a wide range of flowering and potted plants, vegetable gardens, lawns, ornamentals, fruit trees, and container gardening with foliar or soil treatments.
Selecting and Preparing the Cutting
Use a sharp, clean knife or pruning scissors to take a 10 to 15 centimeter length from the tip of a healthy, non-flowering shoot. The cut should be made just below a node (the point where leaves attach to the stem). Remove all leaves from the lower two-thirds of the cutting, leaving only the top one or two pairs. If the remaining leaves are large bigleaf hydrangea foliage, cut them in half crossways to reduce the surface area losing water through transpiration.
Dip the cut end in powdered rooting hormone to improve rooting speed and success rate. Rooting hormone is available at any garden center and makes a meaningful difference in propagation success for hydrangeas.
Rooting Medium and Setup
A mix of 50 percent perlite and 50 percent peat moss or coir provides the drainage and moisture retention needed for successful rooting. This mix stays moist without becoming waterlogged and provides the air porosity that developing roots require. Do not use standard potting mix, which is too nutrient-rich and moisture-retentive for cuttings at this stage.
Make a planting hole in the rooting medium with a pencil before inserting the cutting, which prevents the rooting hormone from being scraped off the stem. Insert the cutting 3 to 5 centimeters deep and firm the medium gently around it. Water thoroughly and allow excess water to drain.
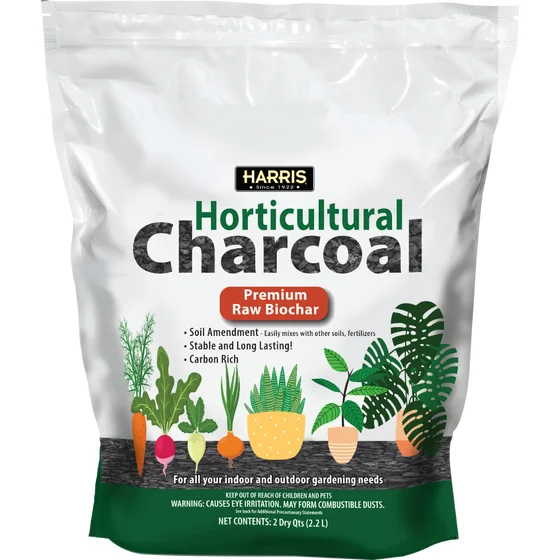
Harris Horticultural Charcoal premium biochar is a naturally derived soil amendment designed to increase soil carbon, nutrient content, and water retention. It helps support water-soluble nutrients and promotes beneficial microbial life for healthier plants. Ideal for indoor and outdoor use in gardens, ornamentals, terrariums, and small houseplants like orchids and bonsai.
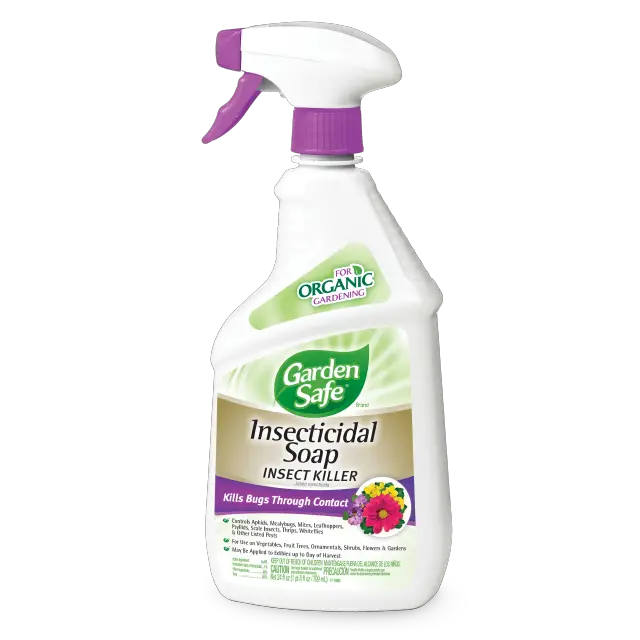
Garden Safe insecticidal soap is a ready-to-use contact spray that kills listed garden pests when sprayed directly on them. It’s formulated for organic gardening and can be used on vegetables, fruit trees, ornamentals, shrubs, flowers, and in indoor, outdoor, and greenhouse applications. For convenience, it may be applied to edibles up to and including the day of harvest.
Maintaining Humidity
The cutting has no roots and cannot replace water lost through the leaves, so maintaining high humidity around the foliage is critical until roots develop. Place a clear plastic bag over the cutting and pot, or use a propagation dome. The humidity should be high enough to prevent wilting without leaving so much moisture on the leaves that fungal disease develops. Check daily: if condensation is covering the entire inside of the bag, open it briefly to allow some air exchange.
Place the covered cuttings in a warm location with bright indirect light. Avoid direct sun, which builds heat inside the bag and stresses the cutting.
Rooting Timeline and Potting On
Hydrangea cuttings typically develop visible roots within three to five weeks under good conditions. The clearest sign of rooting is gentle resistance when you tug the cutting lightly: a rooted cutting holds firm while an unrooted one pulls free easily. Once roots are established, remove the humidity cover gradually over one to two weeks to acclimate the young plant to normal air humidity.
Pot the rooted cutting into a small container filled with standard potting mix. Grow it on in a sheltered location for its first season, protecting it from hard frosts through its first winter. By the following spring it should be large enough to plant out in the garden or move to a larger container. For guidance on caring for young hydrangeas in containers, the hydrangea care in pots guide covers ongoing management from this point. The broader approach to propagating different plant types including by division and layering is in the general plant propagation guide.