How to Transplant Hydrangeas Without Killing Them
Established hydrangeas can be successfully moved to a new location if the timing and technique are right. Plants that have been in the ground for five or more years will have extensive root systems, but they are fibrous and recover well from transplanting compared to deep-rooted trees and shrubs. The key is minimizing the time the roots spend out of the ground and giving the plant adequate aftercare through the recovery period.
The Right Time to Transplant
The two best windows for moving hydrangeas are early spring, before new growth begins and while the soil is still cool and moist, and autumn, after the plant drops its leaves and enters dormancy. Spring transplanting gives the plant a full growing season to re-establish its root system before facing summer heat. Autumn transplanting allows root regeneration through the mild soil temperatures of early winter before the plant faces summer demands.
Avoid transplanting in summer. The combination of transplant shock and summer heat stress is hard on hydrangeas and significantly reduces survival rates. If you must move a plant in summer, do it on a cool, overcast day, prune back the top growth by about one-third to reduce water demand, and increase watering frequency substantially.

Southern Ag Aluminum Sulfate is a soil acidifier that helps lower pH and corrects high alkalinity, making it ideal for acid-loving plants. It’s great for hydrangeas and other shrubs and trees that prefer acidic conditions, including rhododendrons, blueberries, azaleas, and more. Broadcast evenly and wash off foliage, then water after application.
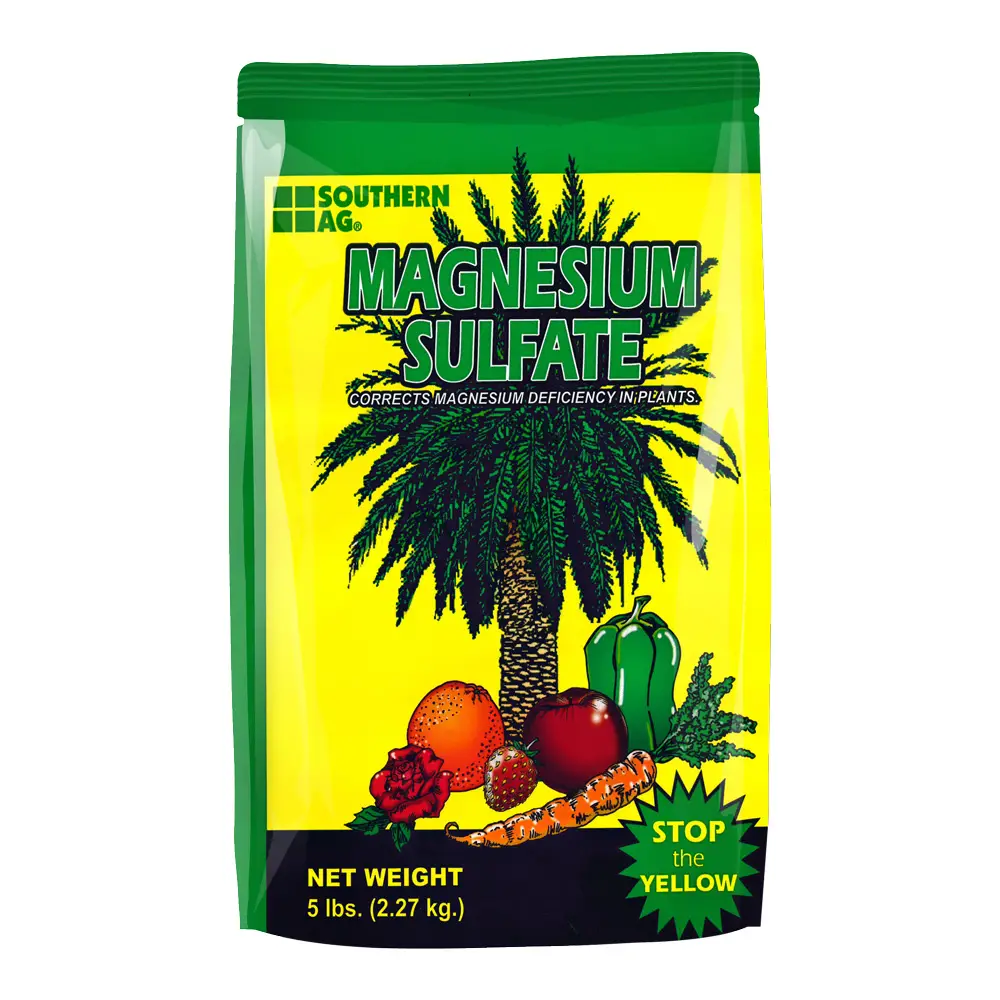
Root 98 Warehouse Southern Ag Magnesium Sulfate is a dry, water-soluble fertilizer for correcting magnesium deficiency in shrubs and trees. It helps acidify soils with less risk of staining and is designed for use on citrus, palms, trees, shrubs, annuals, and turf. Apply by spreading over the treatment area and watering in; do not mix or spray.
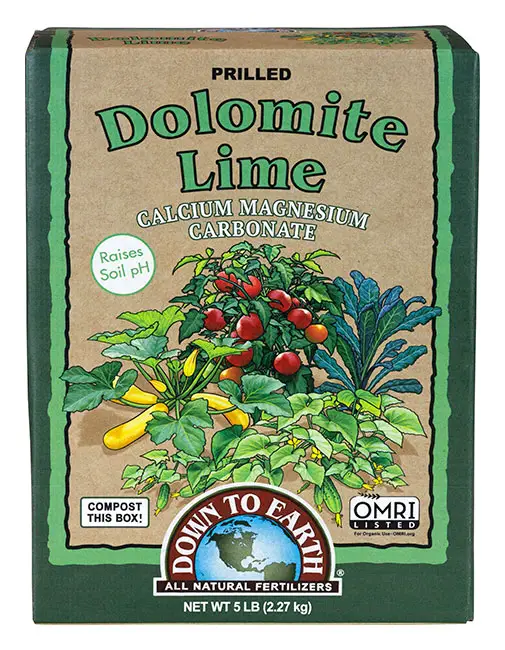
Down To Earth Organic Prilled Dolomite Lime helps raise acidic soil pH for better nutrient uptake and healthier vegetable gardens. Its rich calcium and magnesium support strong cell walls, root growth, and overall plant performance. OMRI listed for organic use, the prilled granules spread easily and act quickly while improving soil structure and microbial activity.
Preparation Before Digging
Dig the new planting hole before you dig up the existing plant. This minimizes the time the roots are exposed to air. Make the new hole at least twice as wide as the estimated root ball and the same depth. Mix the excavated soil with a generous amount of compost. For bigleaf hydrangeas, adjust soil pH if the new location has a different pH from the old one.
Water the hydrangea deeply 24 hours before digging. A well-hydrated root ball holds together better and the plant is more resilient to the stress of being moved.
Digging and Moving the Plant
Mark a digging circle at least 30 centimeters beyond the outermost stems of the plant. For large established plants, expand this to 45 centimeters. This preserves as much of the feeder root zone as possible. Use a sharp, clean spade to cut straight down around the circle, then work the spade under the root ball at an angle to sever the taproot and lift the plant.
Wrap the root ball in burlap or place it on a tarp for moving. Do not carry or drag the plant by its stems: support the root ball from underneath. Move the plant to the new hole immediately and place it at the same depth it was growing, with the soil line on the stem at the same point as before. Planting too deep is a common transplanting mistake that causes bark decay at the soil line.
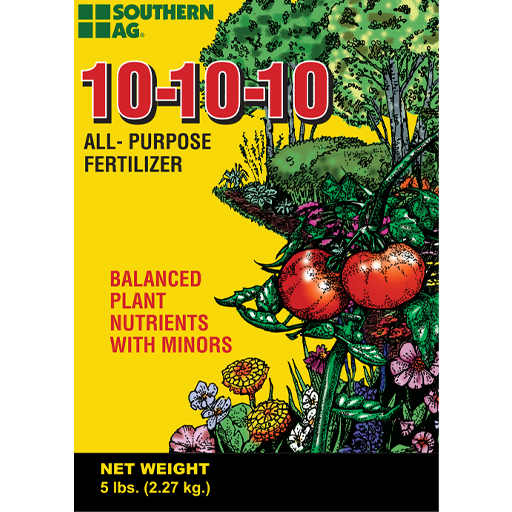
Southern Ag All Purpose Granular Fertilizer 10-10-10 helps nourish lawns, flower beds, vegetables, and trees with a balanced blend of essential nutrients. The granular formula is designed for easy application and supports healthy growth across a wide range of plants and seasons. Follow label directions to sweep off any granules from hard surfaces and water plants well after applying.
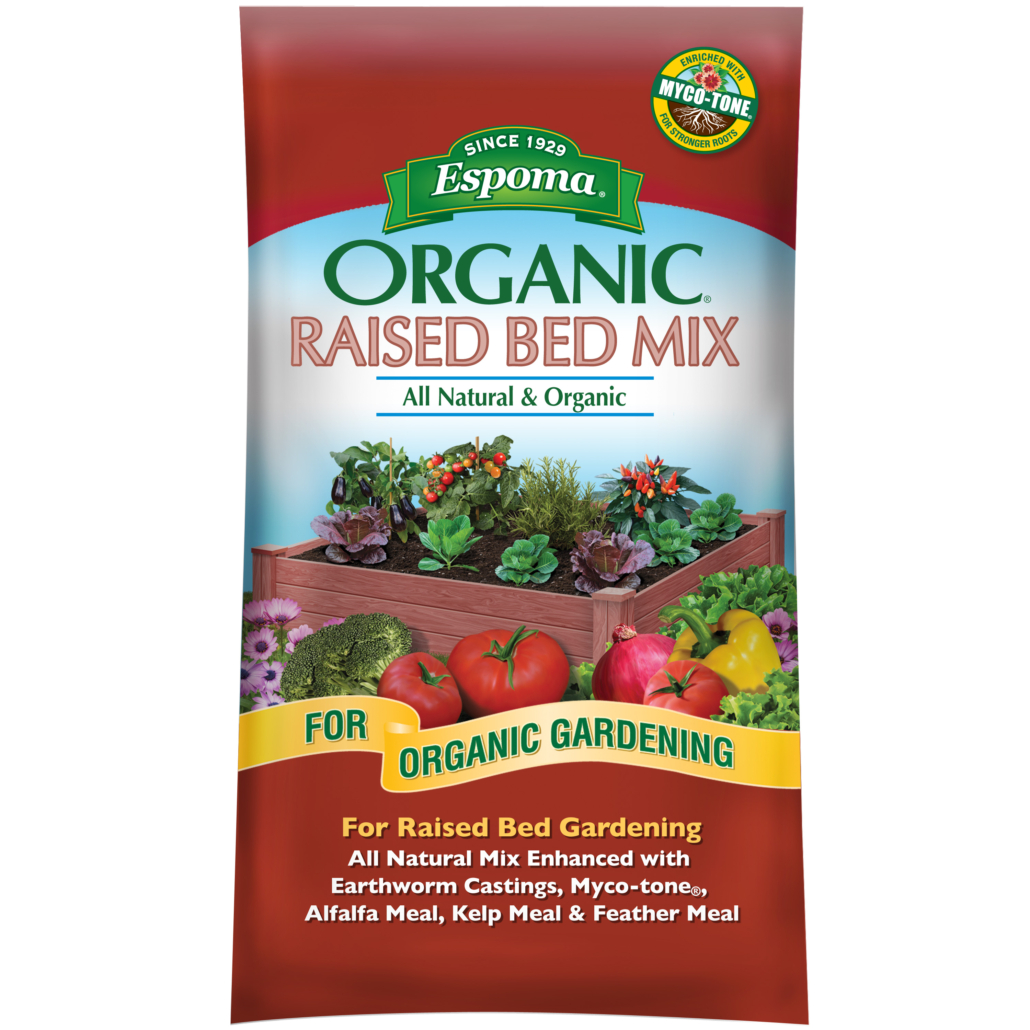
Espoma Organic Raised Bed Mix is an all-natural potting soil blend designed for raised garden beds and outdoor containers. It’s enriched with earthworm castings and organic meals for strong, healthy plant growth, plus MYCO-TONE with endo and ecto mycorrhizae. This ready-to-use mix contains no synthetic plant foods or chemicals, making it ideal for organic gardening.
Aftercare
Backfill the hole with the amended excavated soil, firming gently as you go to eliminate air pockets. Water thoroughly, filling the hole several times as the water settles the soil. Apply 7 to 10 centimeters of organic mulch over the root zone, keeping it clear of the stem. Do not fertilize until the plant shows active new growth: feeding a newly transplanted shrub before roots have recovered pushes vegetative growth the plant cannot sustain.
For the first four weeks, water every two to three days in the absence of rain. After the first month, reduce to weekly deep watering. The plant may look stressed, with wilted or discolored leaves, through the first few weeks. This is normal. As long as new growth eventually appears and the stems remain plump and green, the plant is recovering.